(click to expand table of contents)
- 5. VBO365 in Azure Deployment Runbook for 1000 Users
- 5.1. Provision the Azure VM
- 5.2. Provisioning a Reserved Instance
- 5.3. Provision Azure Blob
- 5.4. Configure a Service Endpoint
- 5.5. Initialize and Format the Repository Disk
- 5.6. Install Veeam Backup for Microsoft Office 365
- 5.7. Install Veeam Explorer for Exchange
- 5.8. Install Veeam Explorer for SharePoint
- 5.9. Install Veeam Explorer for OneDrive
- 5.10. Licensing Veeam Backup for Microsoft Office 365
- 5.11. Adding a Microsoft 365 Organization with Modern Authentication
- 5.12. Managing Backup Azure AD Applications for SharePoint/OneDrive
- 5.13. Create a Tenant Object Storage Repository
- 5.14. Configure a Tenant Backup Repository
- 5.15. Create a Backup Job
5. VBO365 in Azure Deployment Runbook for 1000 Users
The Microsoft Azure Marketplace provides a template in which a VBO365 server can be deployed. While the marketplace appliance is regularly updated, it is possible there is a short lag between new Veeam software version releases and the version available in marketplace template. Two options for deployment is via the marketplace followed by applying an update as needed, or manual VM provisioning and installation of the latest software release. The runbook selections in this section can be applied to either path.
This document focuses on the manual deployment, starting with the deployment of a Windows Server from a template and finishing with the installation and configuration of the VBO365 software.
5.1. Provision the Azure VM
-
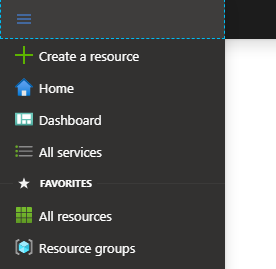
Access the root menu and select “Create a resource”.

-
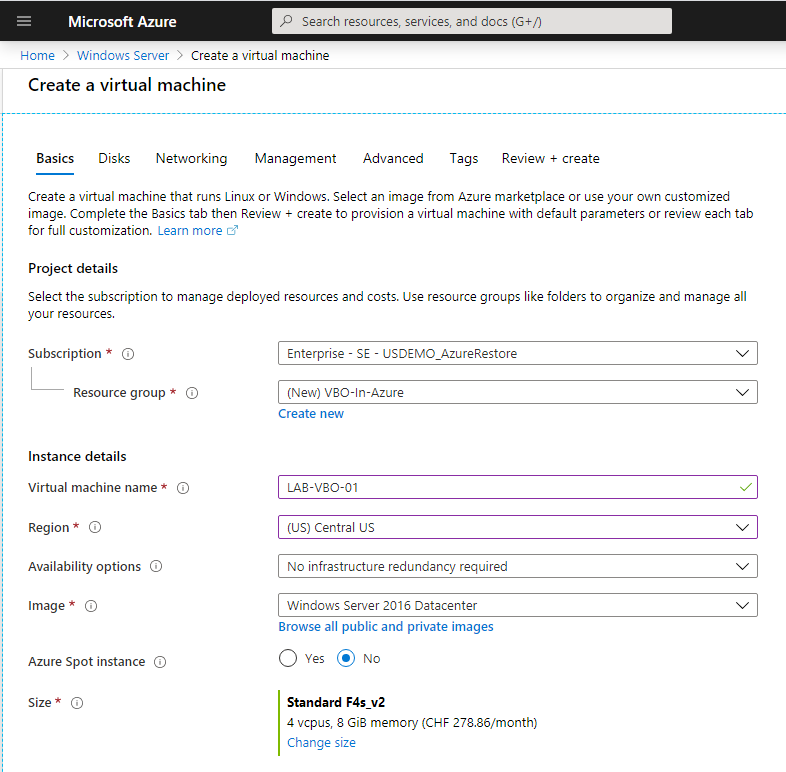
Configure Basics options. Use existing or create a new Resource Group, specify a Virtual Machine Name, and specify a Region. Based on Section 3.4, change the VM size to an F4s V2.
-
Provide credentials. Specify if you have a Windows license.
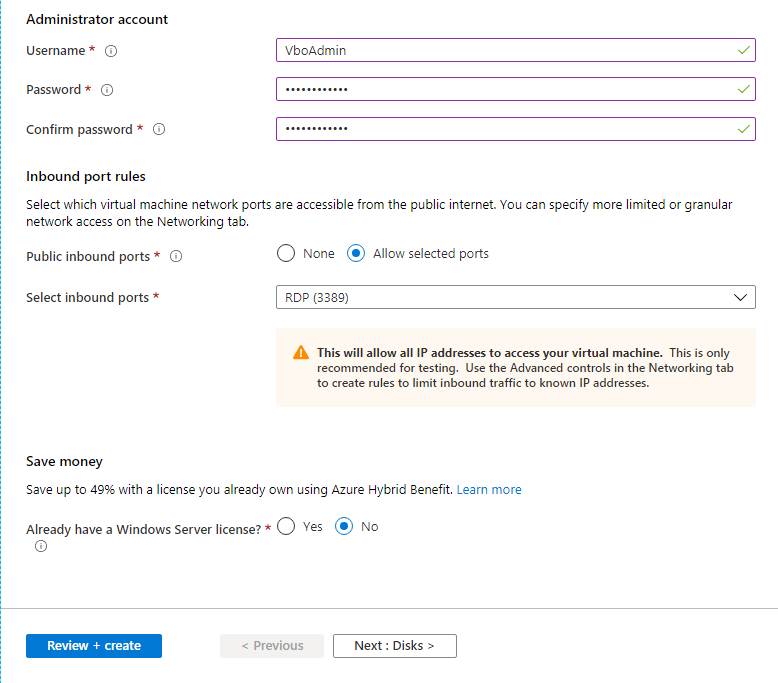
Note: Using your own license provides discounting. For purposes of this document, No is selected for licensing.
Click Next.
-
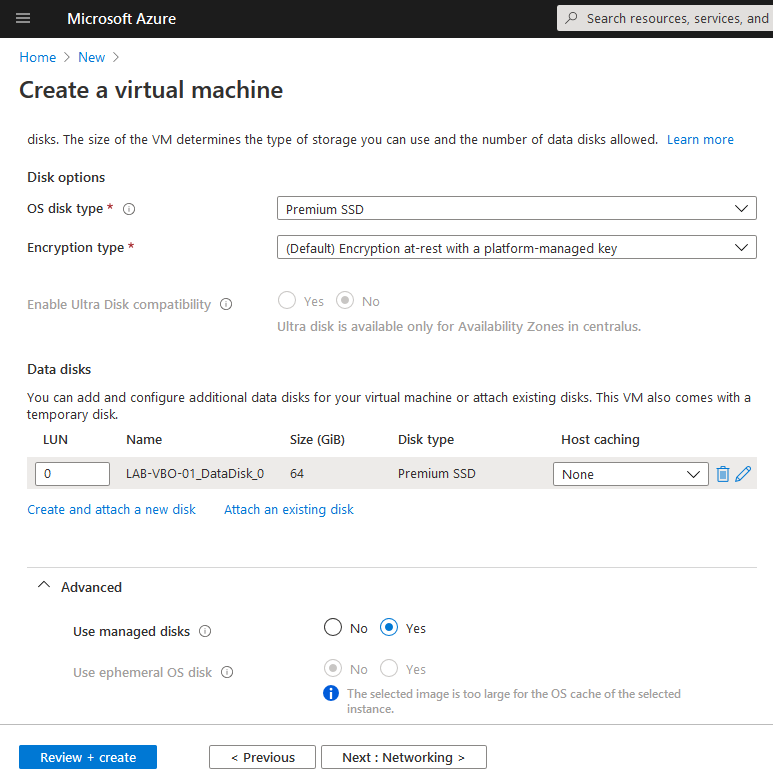
Select Disk options. Windows Server 2016 Templates includes a 128GB disk for the OS. Select Premium SSD for the OS disk type. For 5TB of Office 365 data, a 64GB SSD disk is required for the backup metadata disk. Select Premium SSD, P6 , No Host Caching, and Managed disk option for the Data disk. Click on “Create and attach a new disk” to configure. The end result should be similar to the following screenshot:
-
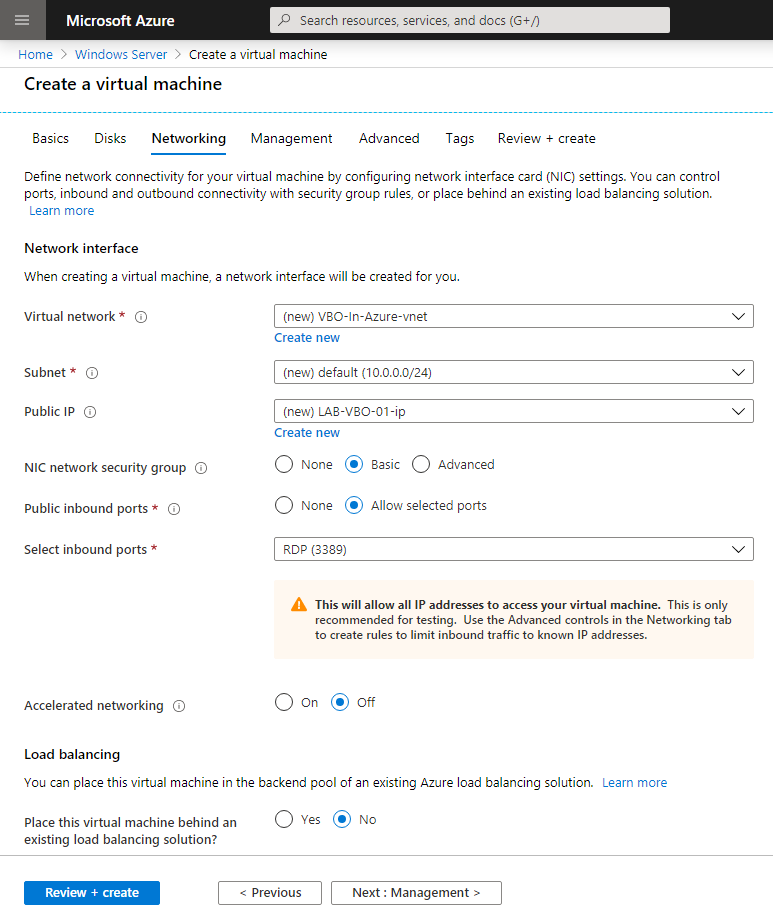
Specify Networking settings per your preference or leave defaults. Disable Accelerated networking. Load Balancing should remain off.
-
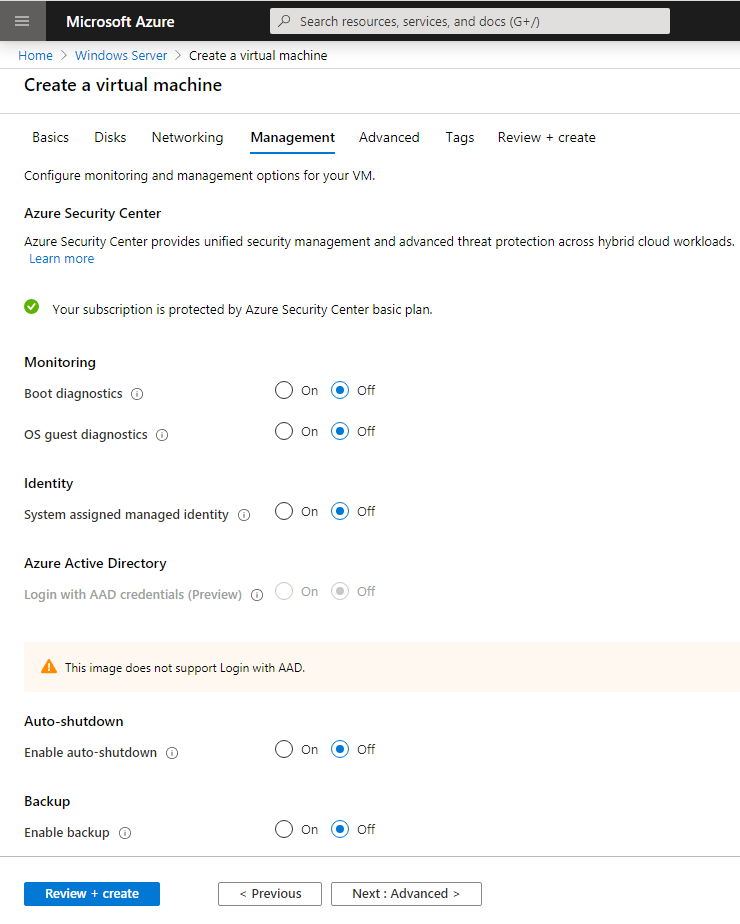
Specify Management settings per your preference. Boot diagnostics are not required.
-
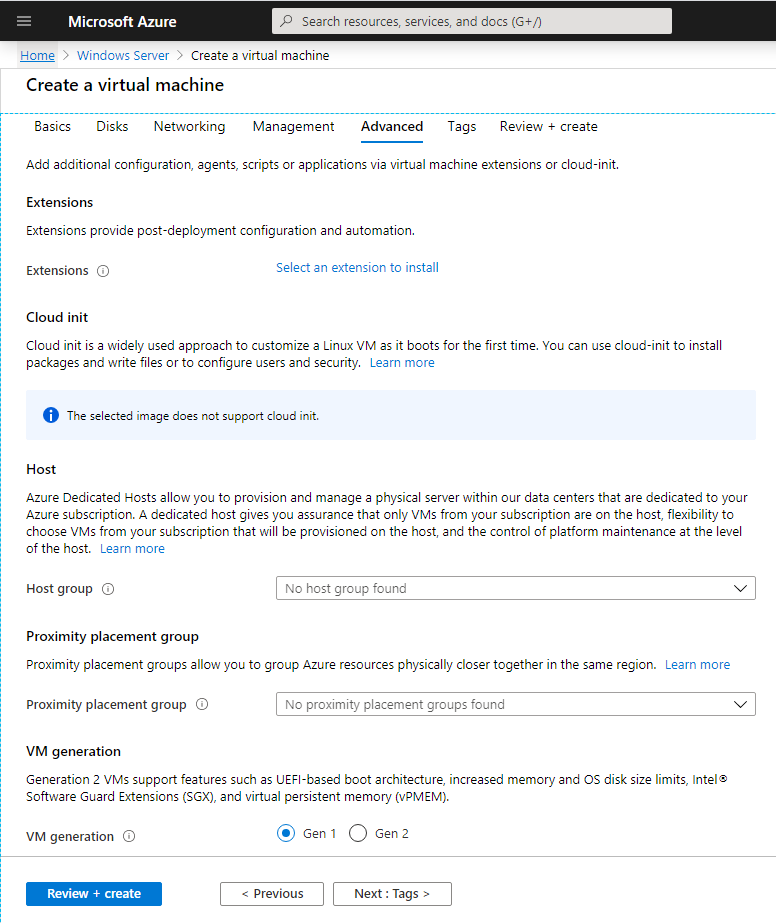
There are no Veeam requirements in the Advanced settings. Defaults can be maintained.
-
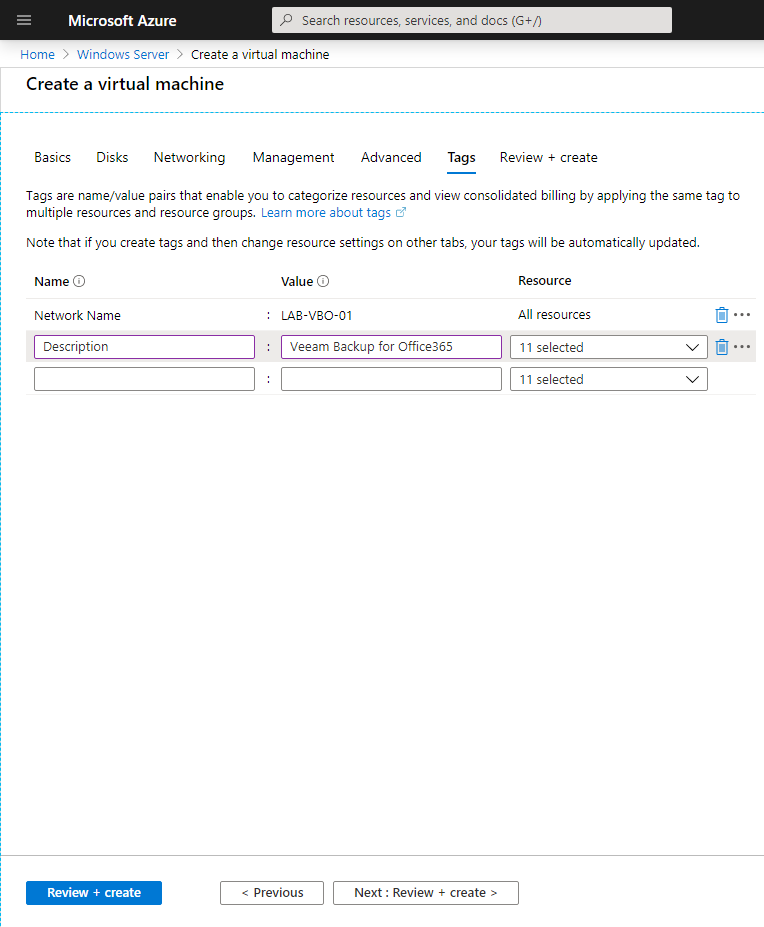
Tags can be defined as needed.
-
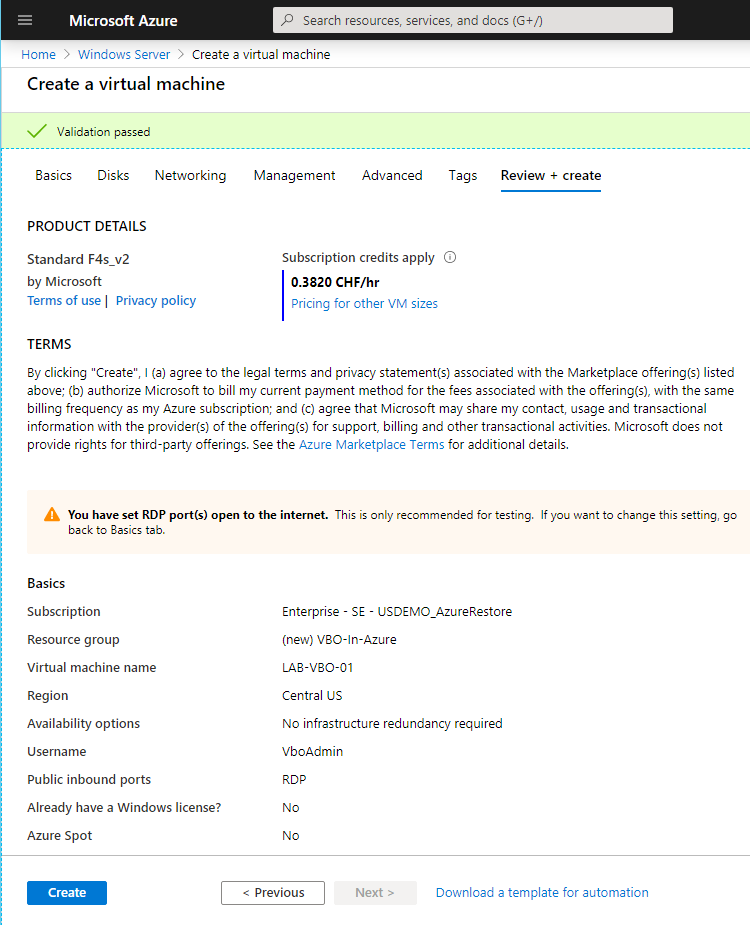
Review configuration options and click Create to provision the VM.
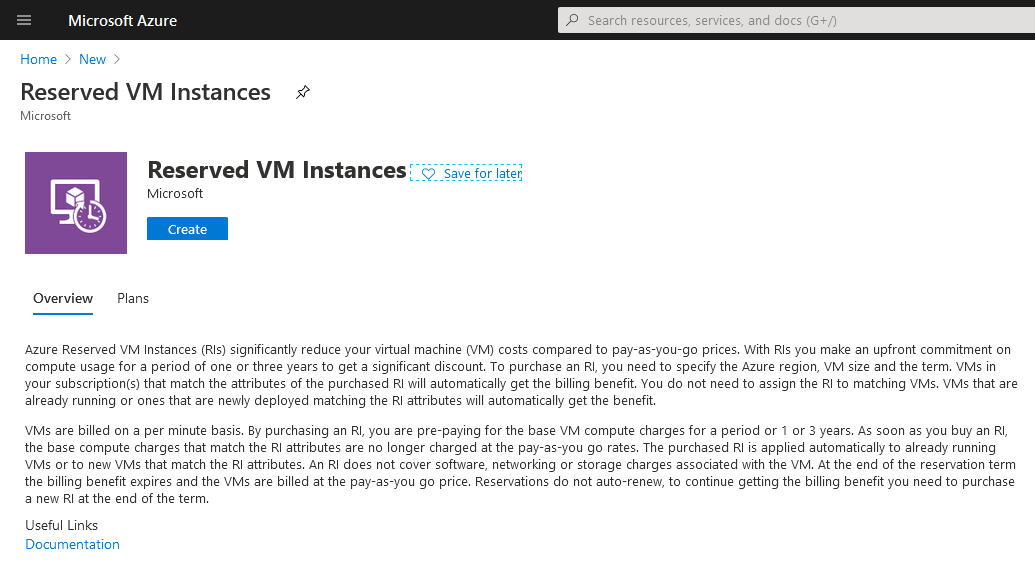
5.2. Provisioning a Reserved Instance
Reserved Instances can be applied to subscriptions for commitments of 1 or 3 years. This applies discounting to the subscription.
-
Access the root menu and select “Create a resource”.
-
In the search bar, type “Reserved VM Instances” and press the Enter key.
Click Create to start the wizard.
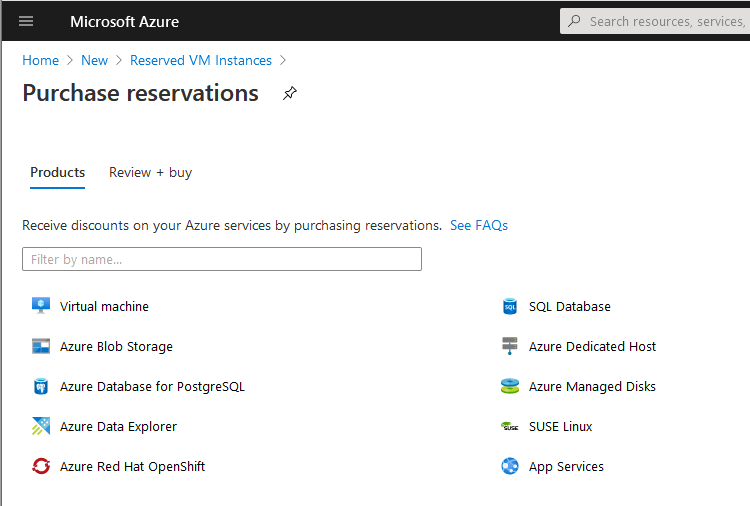
-
In the left pane click on “Virtual machine”. The right pane will provide a list of VM sizes to choose from.
-
Modify the filter for the appropriate region. As this document focuses on Central US, that is the selection depicted below. This document also focuses on a 1 Year Reservation. Therefore, the Term filter needs to be modified since the default is 3 Years, unless 3 Years is preferred. Click the Term filter and select the appropriate commitment year(s) from the dropdown.

-
The required VM size based on previous section is F4s v2. In the “Filter by name” textbox, type in “F4” and it should produce a list of related VM sizes.
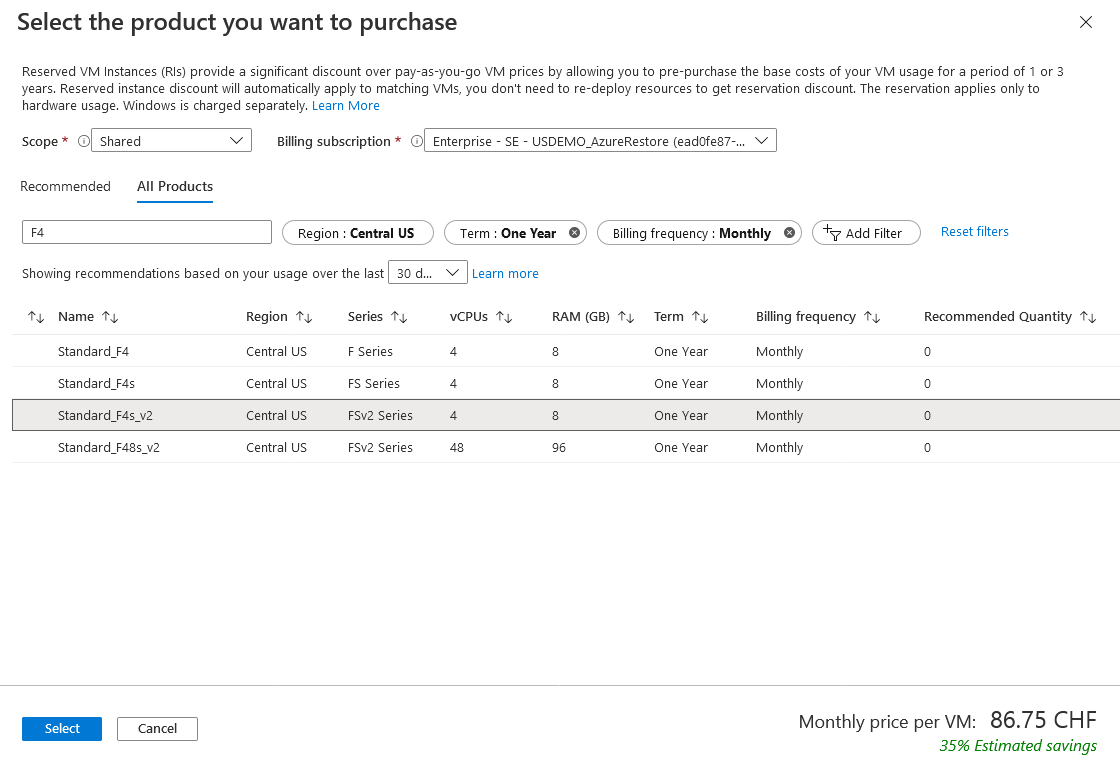
Please note, the defined scope determines how the reserved instance is applied, either to be shared across all subscriptions or can be applied to a single subscription, or applied to a resource group to for discounting. Reservation Instances discount compute only, not the operating system.
Select the F4s_v2 size and click “Select”.
-
Optionally, the reservation instance name can be modified if desired.
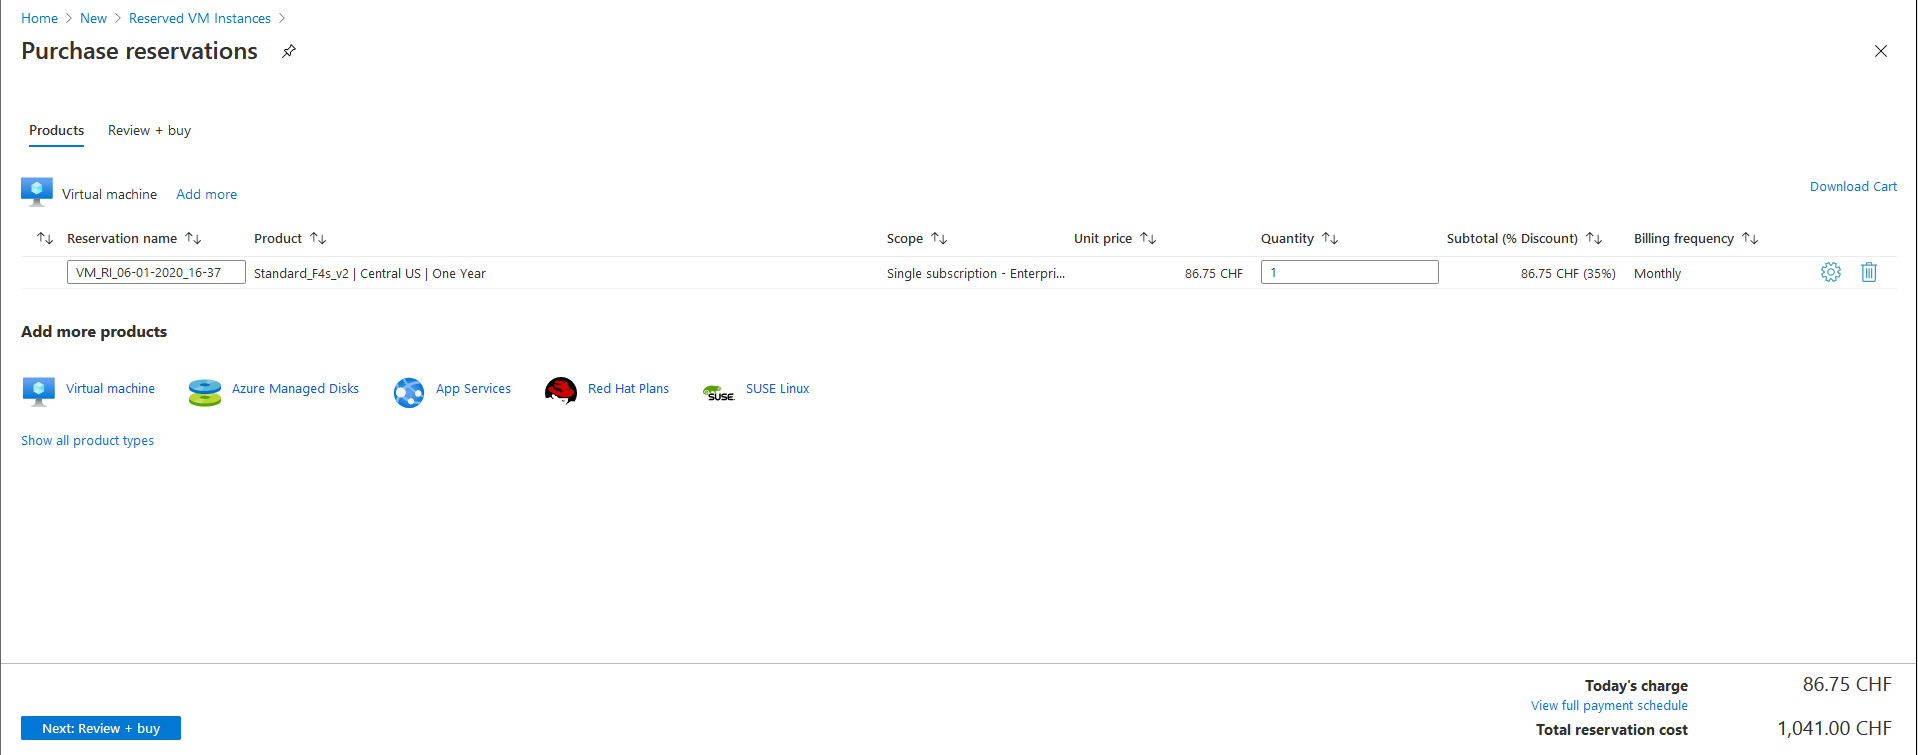
Click Next to review.
-
Review.
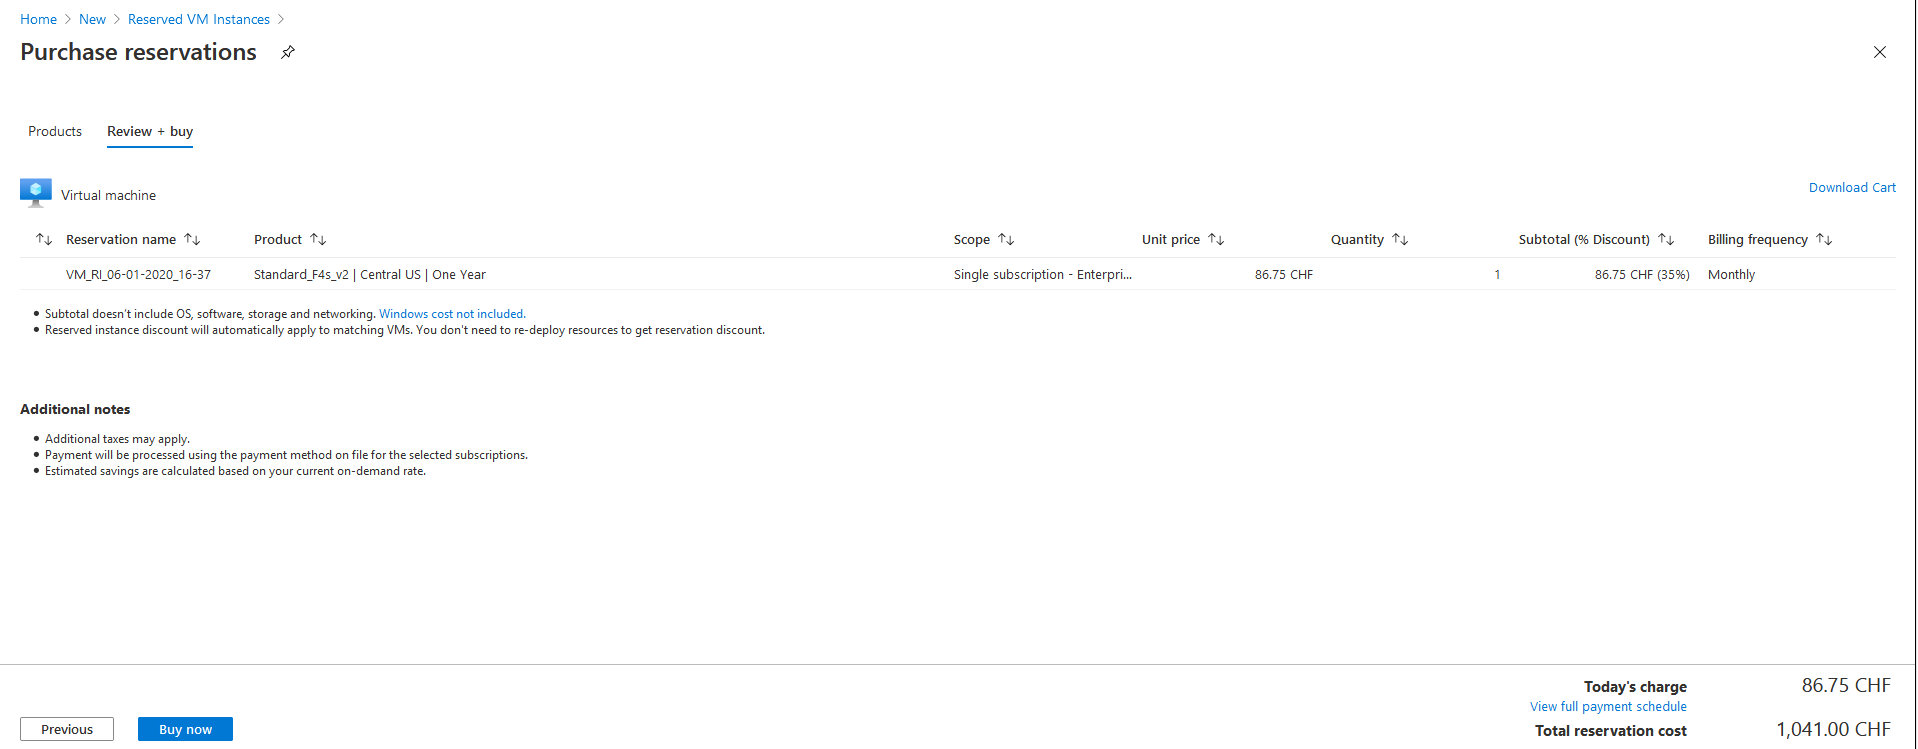
Click Buy now to complete the process.
5.3. Provision Azure Blob
The use case in this document focuses on leveraging object storage to store VBO365 backup data.
-
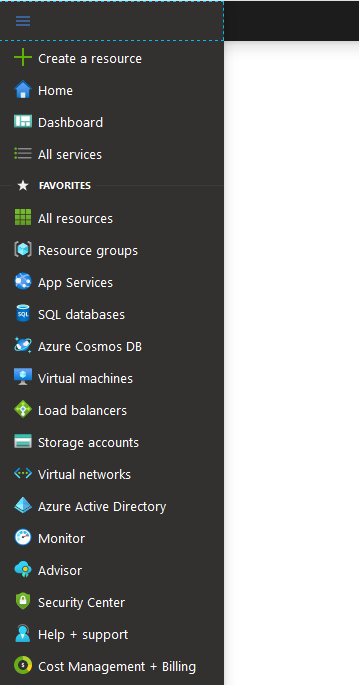
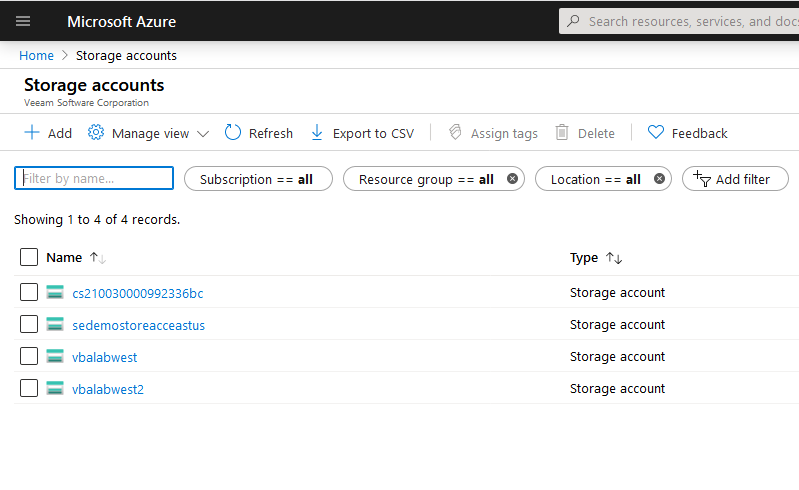
Access the root menu and select “Storage accounts”.
-
Click on Add.
-
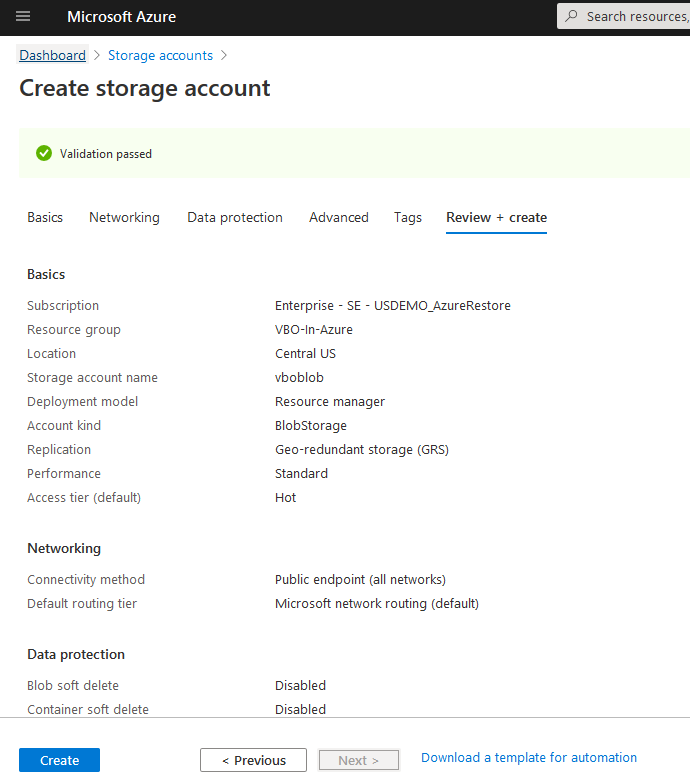
To select Basic options, confirm the subscription, choose a Resource Group, input a Storage account name, confirm Location, set Account kind to “BlobStorage”, set Replication LRS or GRS, and set Access tier default to “Hot”.
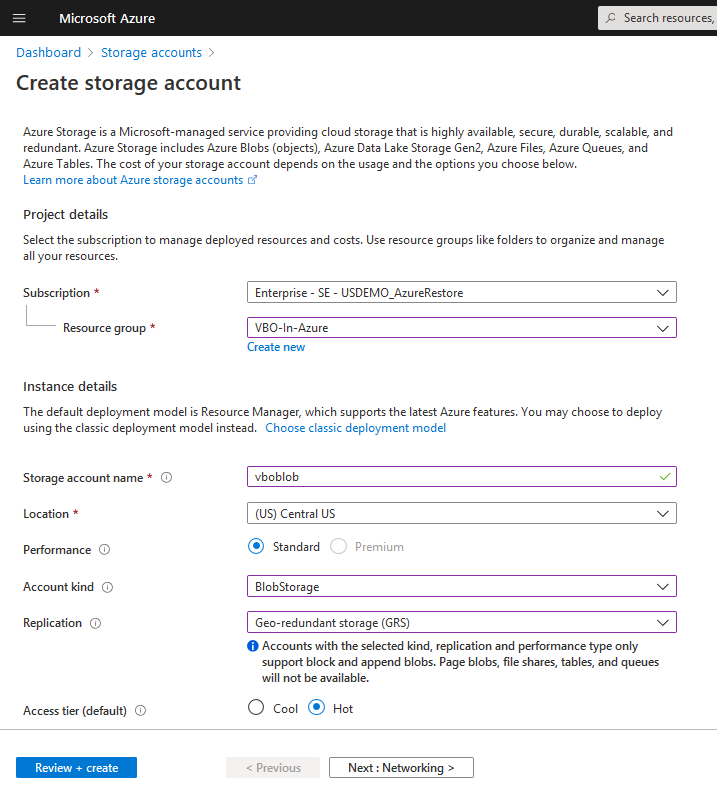
Note: Hot tier is suggested because it would liklely be more cost effective to reduce API operational cost. Both hot and cool tiers are supported. LRS and GRS is supported.
-
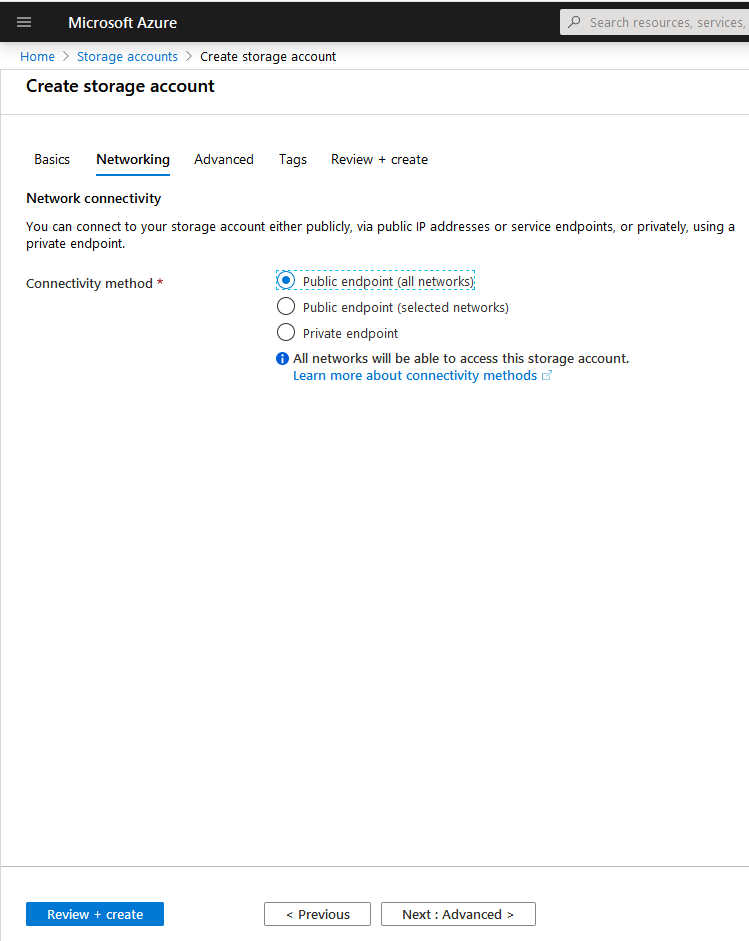
Configure Networking, defaults can be maintained.
Click Next.
-
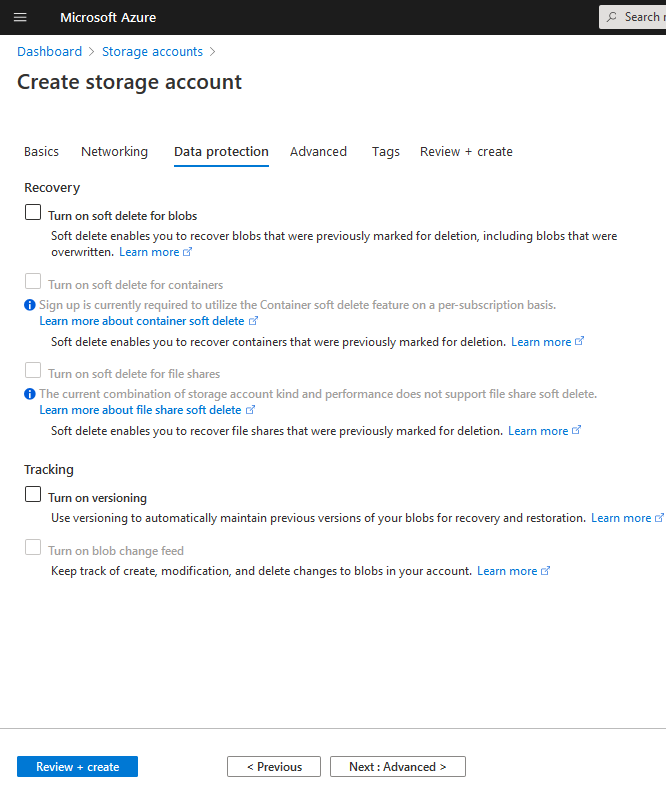
Maintain Data Protection defaults.
Click Next.
-
Configure Advanced. Ensure “Secure transfer required” is enabled and set “Allow Blob public access” to Disabled.
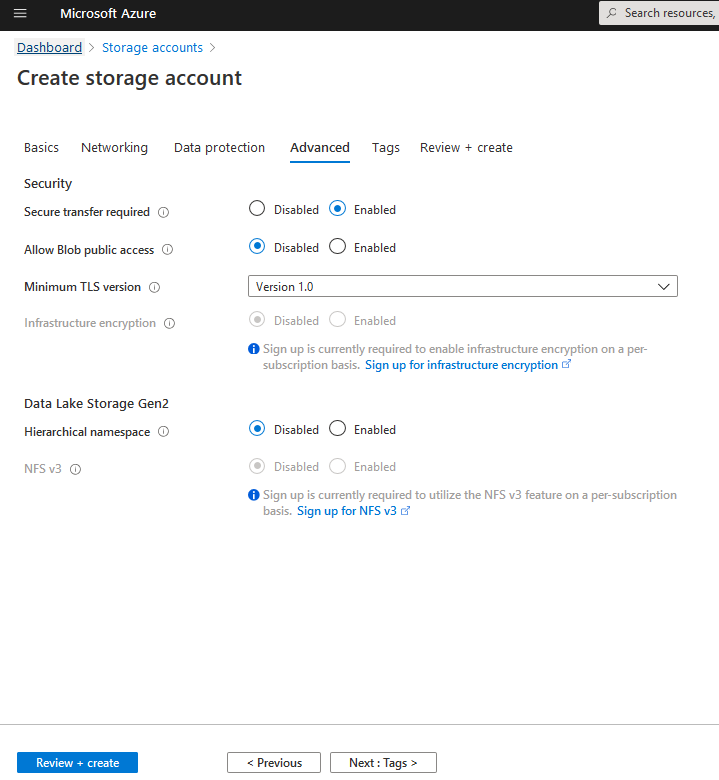
Click Next.
-
Configure Tags if desired.
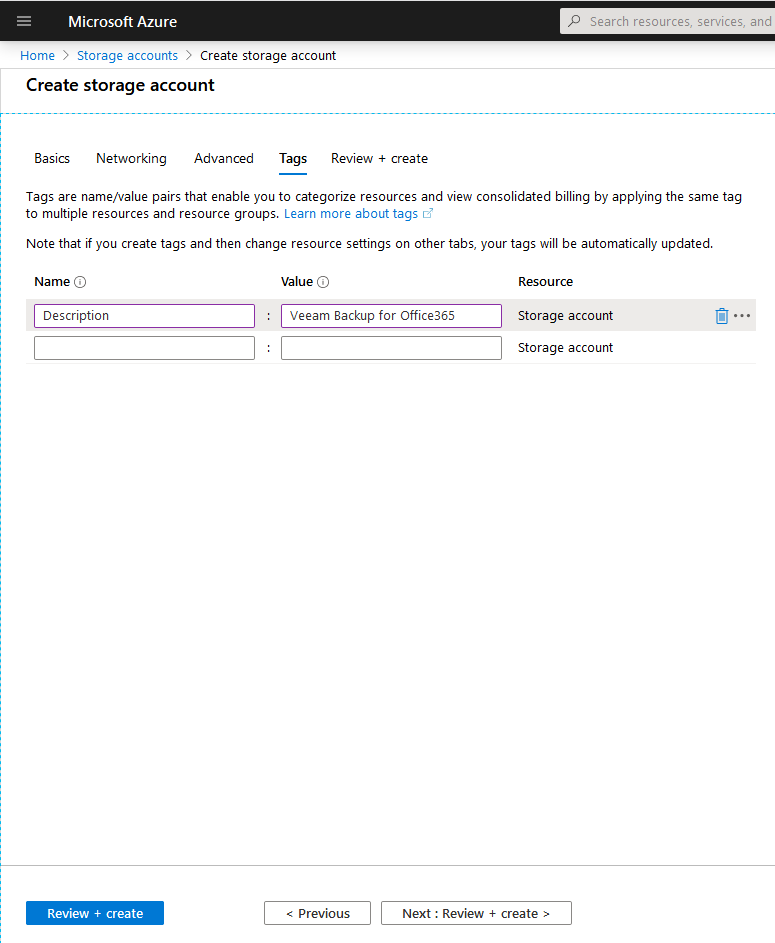
Click Next.
-
Review and click Create.
-
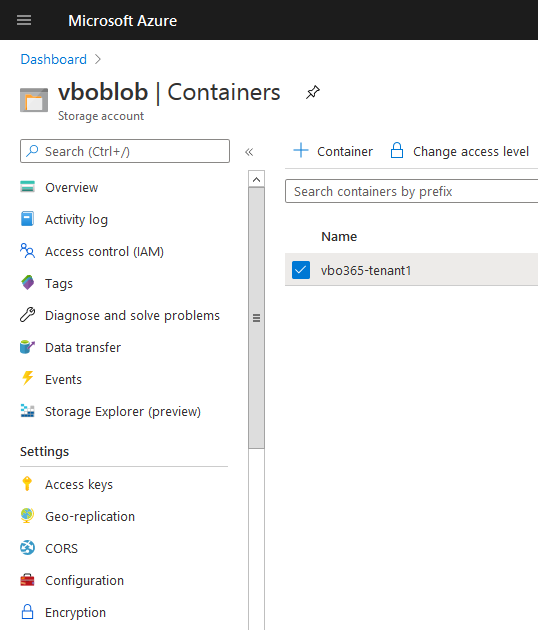
Upon deployment, go to the storage resource and click on Containers.
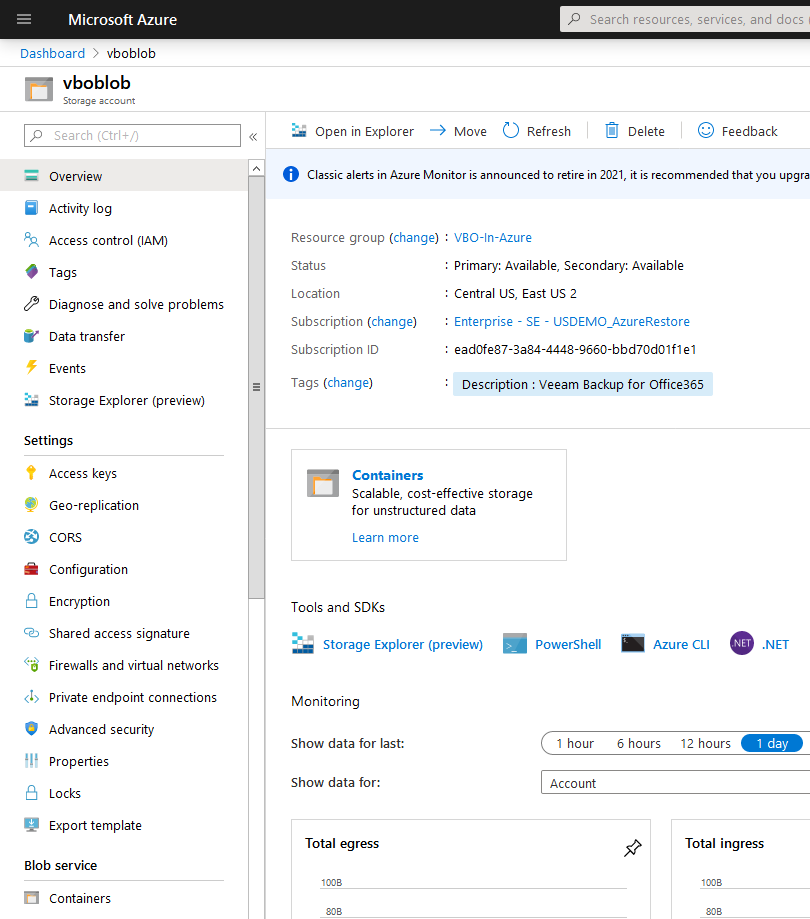
-
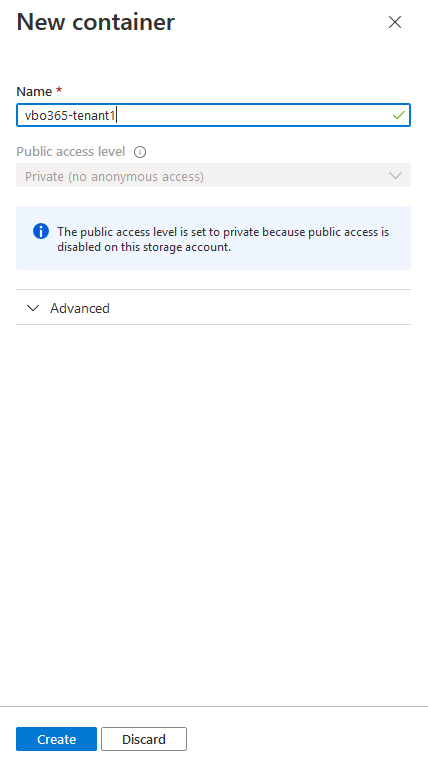
Create a new Container. Input a name of your choice and click Create. It’s suggested to identify the VBO product and tenant name in the naming scheme.
-
In the Containers menu, click on Access Keys.
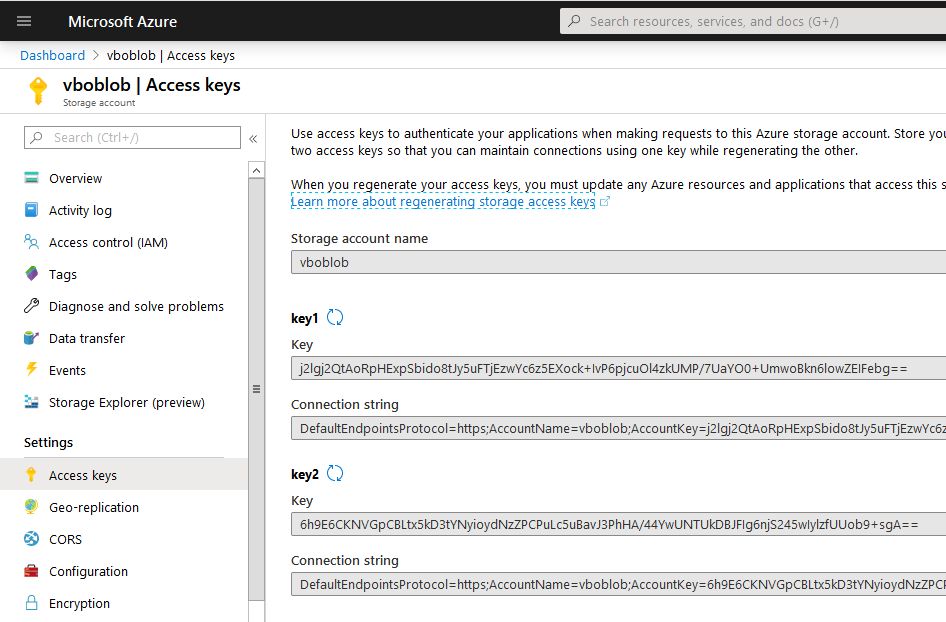
-
Access Keys can be found here. The storage account name and key information will need to be entered in the VBO365 Console (Section 5.13 Step 3) to connect to the object store.
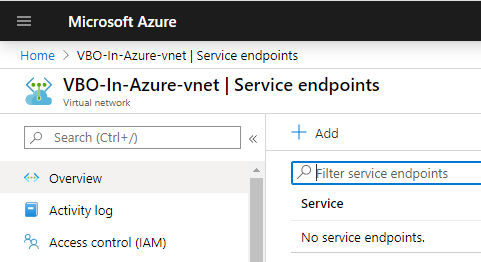
5.4. Configure a Service Endpoint
-
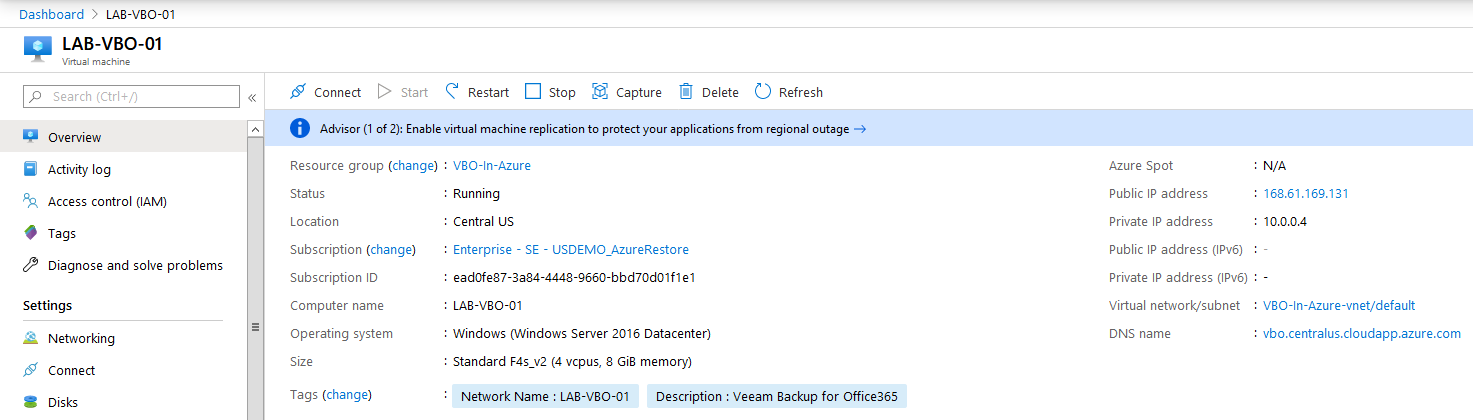
Navigate to the VBO server in the Azure portal. Then click on the Virtual network/subnet link.
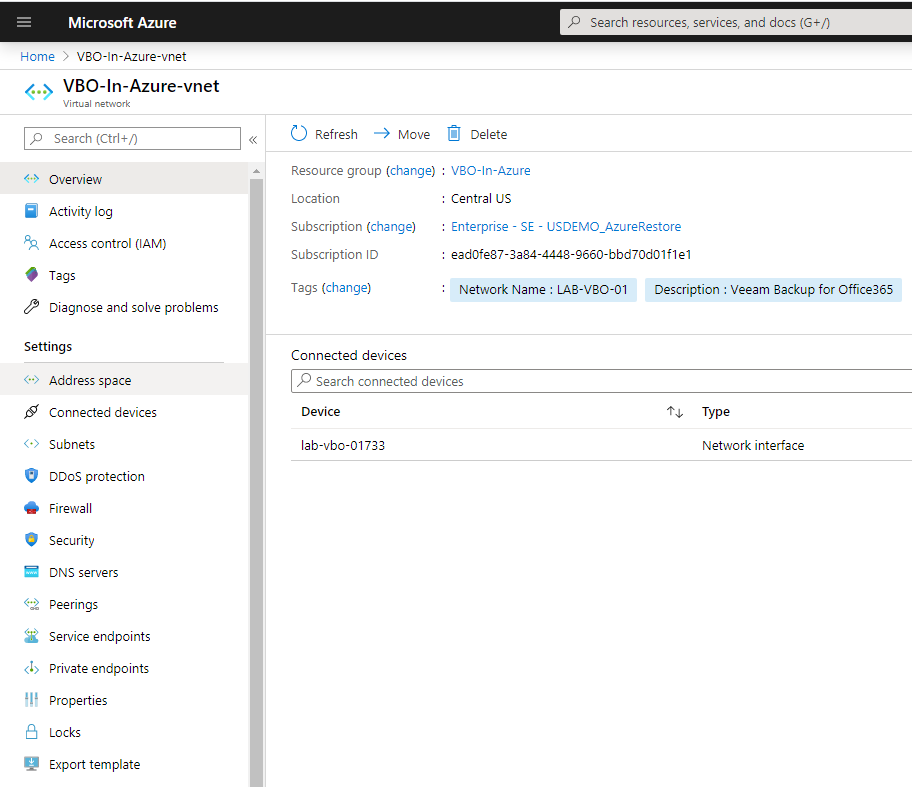
-
Click on Service Endpoints.
-
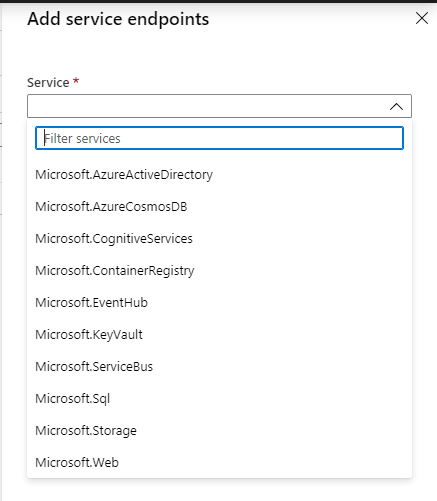
Click Add to add a service endpoint.
-
Search for Microsoft.Storage option in the filter drop down.
-
You may select the default subnet unless another one has been created for VBO. This subnet will connect to the blob storage via internal IP address. If a Service endpoint policy exists, you may select it, else it can be left blank since it is optional.
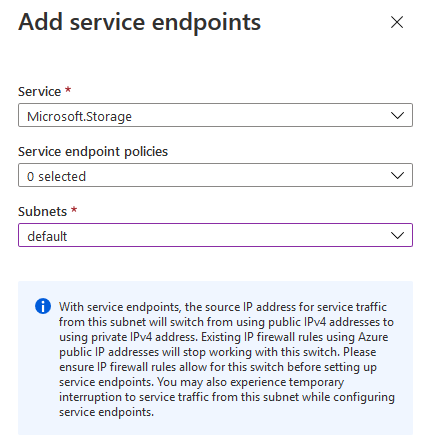
Click Add at the bottom when done.
5.5. Initialize and Format the Repository Disk
-
Login to the VBO365 server and use Disk Manger to create the new data volume.
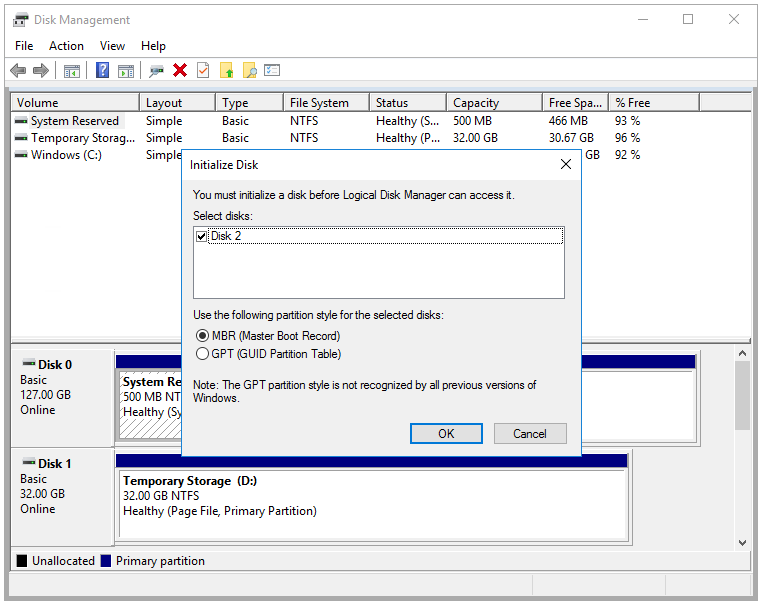
Click Ok to initialize the added data disk.
-
Both NTFS and ReFS file systems are supported. When using ReFS, the data integrity features should be disabled for volumes where data folders are located, or at least exclude VBO repository files. NTFS is suggested because it does not need any error-prone reconfiguration from the default settings. Storage encryption, dedupe, or compression does always mean added latency on I/O requests, thus we recommend disabling these features for better performance.
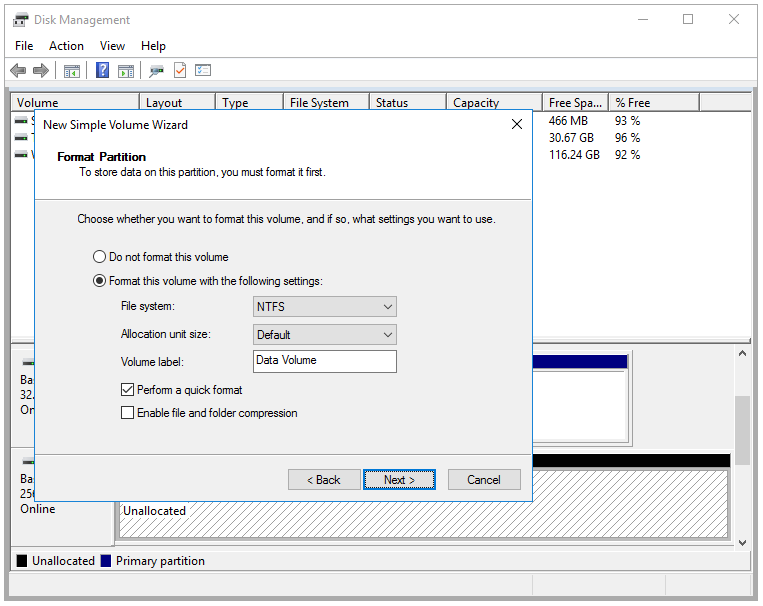
Complete the wizard to format the volume.
-
Access the drive and create a folder called “Backups”.
5.6. Install Veeam Backup for Microsoft Office 365
-
Please note, if the VM was provisioned using the Azure Marketplace, this section can be skipped. Check for updates and install. This document does not provide steps on updating.
Begin the installation process by executing the “Veeam.Backup365_xxxx.msi”. This launches the setup.
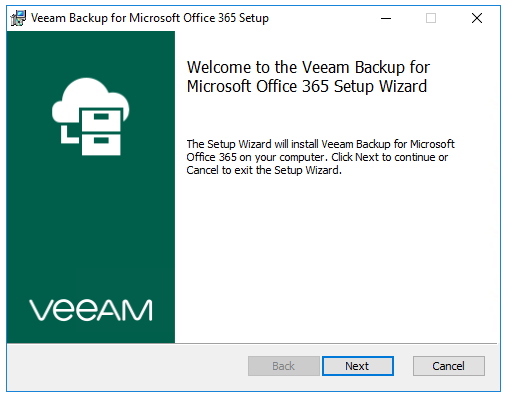
Click Next to proceed.
-
Accept license agreements.
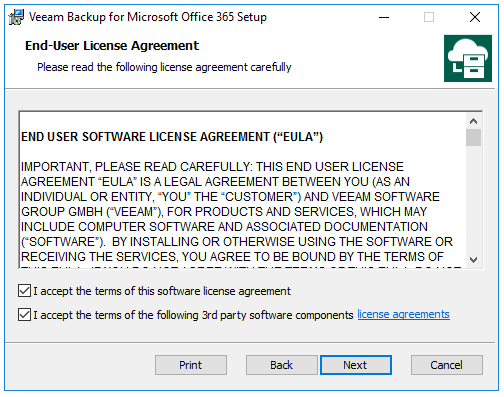
Click Next.
-
This dialogue box provides information on the installation paths for each component.
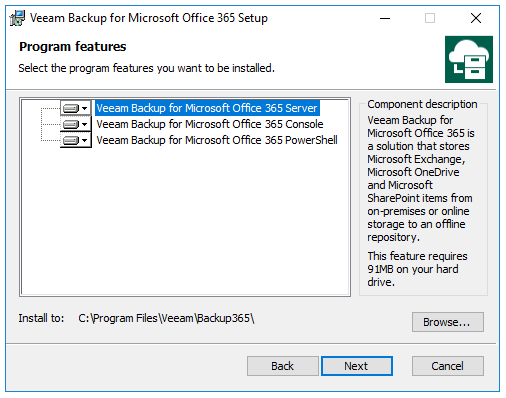
Click Next to accept defaults.
-
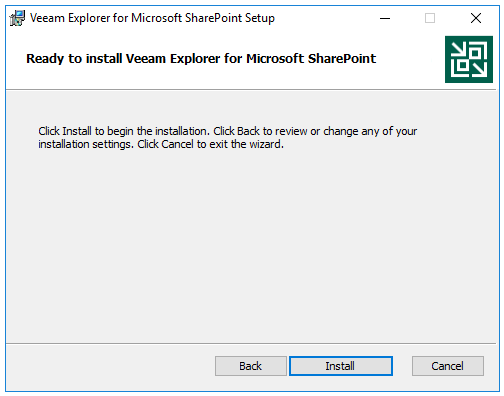
Click Install to begin the installation.
-
This concludes the installation process.
Click Finish to complete.
5.7. Install Veeam Explorer for Exchange
The Veeam Explorer Tools enable recovery options for VBO365.
-
Begin the installation process by executing the “VeeamExplorerForExchange_xxxx.msi”. This launches the setup.
Click Next.
-
Accept the software license agreement and terms for 3rd party software components.

Click Next.
-
Defaults maybe maintained.
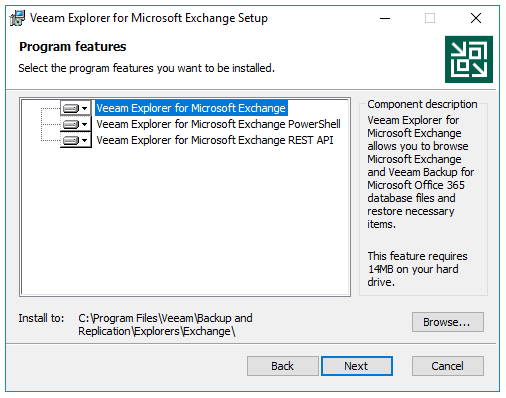
Click Next.
-
Final opportunity to go back or cancel.
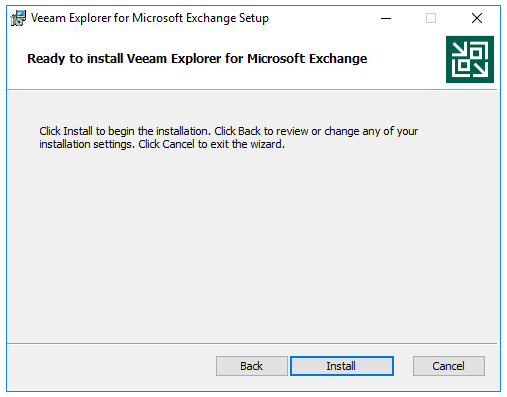
Click Install and click Finish when the install is complete.
5.8. Install Veeam Explorer for SharePoint
The Veeam Explorer Tools enable recovery options for VBO365.
-
Begin the installation process by executing the “VeeamExplorerForExchange_xxxx.msi”. This launches the setup.
Click Next.
-
Accept the software license agreement and terms for 3rd party software components.
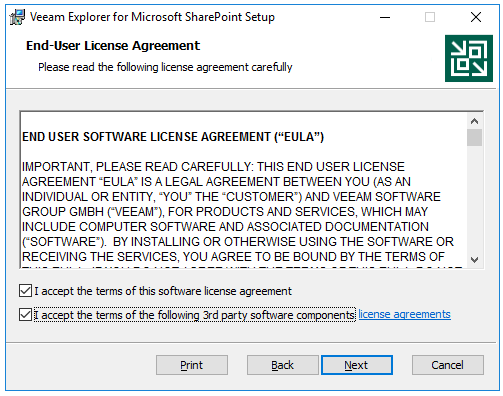
Click Next.
-
Defaults maybe maintained.
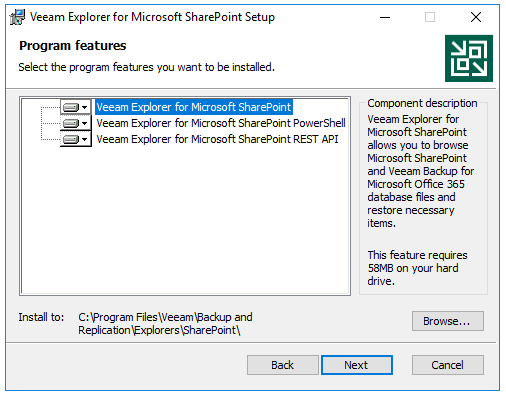
Click Next.
-
Final opportunity to go back or cancel.
Click Install and click Finish when the install is complete.
5.9. Install Veeam Explorer for OneDrive
The Veeam Explorer for OneDrive is part of the VBO365 installation and does not need to be installed seperately.
5.10. Licensing Veeam Backup for Microsoft Office 365
-
Launch Veeam Backup for Office 365 from the desktop shortcut.
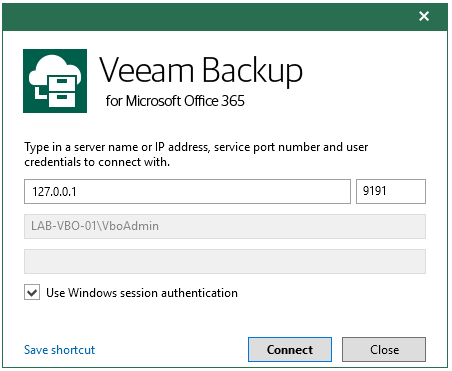
Click Connect.
-
VBO365 will prompt you for a license.
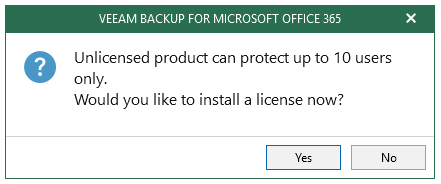
Click No if a license is not available, as a license can be installed at a later time and the remainder of this section can be skipped. VBO365 will default to a community license allowing the protection of up to 10 users. Else, click Yes and continue on with this section.
Click the Install button to browse to your license file and open. Once opened the license will be installed and will show information such as the following.
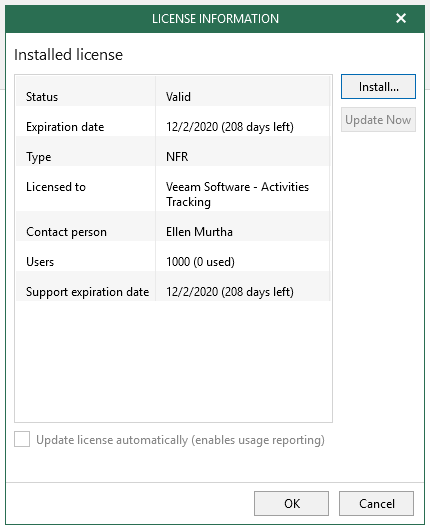
Press OK to close the licensing window.
5.11. Adding a Microsoft 365 Organization with Modern Authentication
Use of Multi-Factor Authentication (MFA) is highly recommend. The following provides a step-through process to add a tenant and automatically enable Modern Authentication.
VBO365 v4c (4.0.1.531) and later automates the creation/registration of Azure AD Apps in Microsoft 365 and grants the required permissions. This is accomplished through the VBO365 Console. For prior versions of VBO365;
- Adding tenants with Basic Authentication see Appendix Section 9.1 and skip this section.
- Adding tenants with Modern and Legacy Authentication see Appendix Section 9.2 and skip this section.
-
Login to the VBO365 server and launch the application. Click on the Organizations tab in the lower left pane. Then right click on Organizations in the upper left pane and select Add Organization. For a pre-existing Microsoft 365 Organization, right click on it and click “Edit organization”.
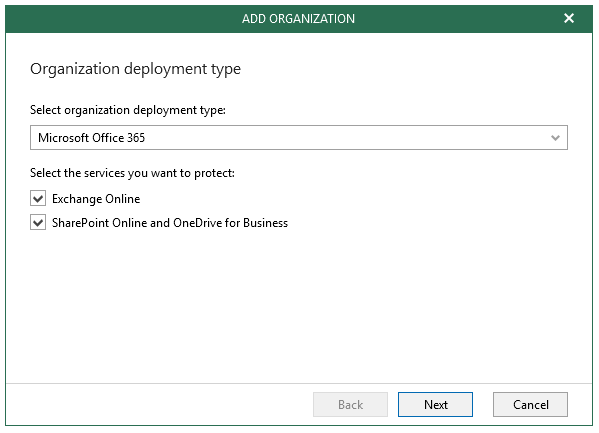
Confirm the options and click Next.
-
Confirm the default Region and select Modern Authentication.
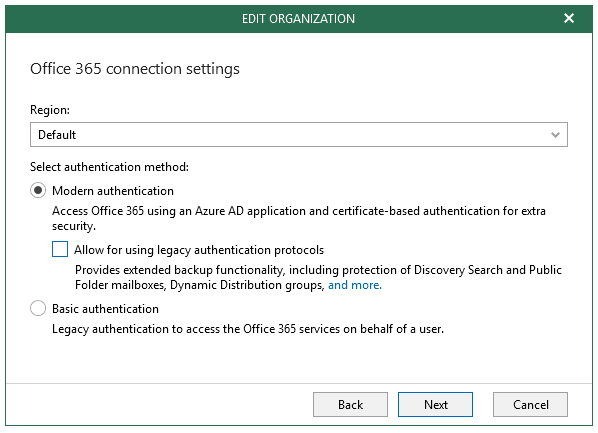
Leave the “Allow for using legacy authentication protocols” checkbox unchecked. Click Next.
Note: If it is required to check legacy authentication checkbox, follow _Appendix Section 9.2_.
-
Select the “Register a new Azure AD application automatically” radial button.
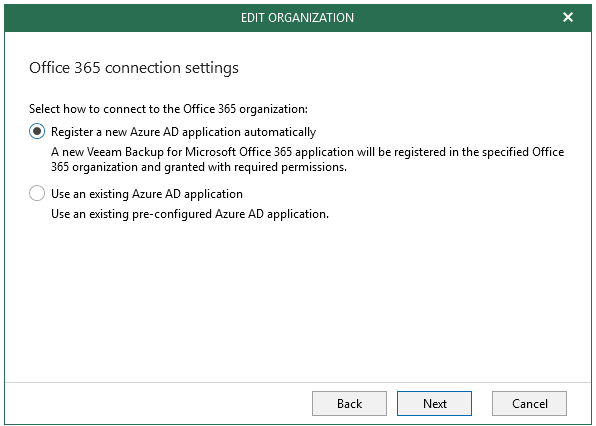
Click Next.
-
Input a name for the VBO365 application in Azure. For this document, VBO365(4c) in Azure name is chosen as this is the first iteration of VBO365 that provides this functionality.

To install a certificate, click Install…
-
It is recommend to purchase a certificate from a certificate authority and import. For purposes of this document, a self-signed certificate will be generated.
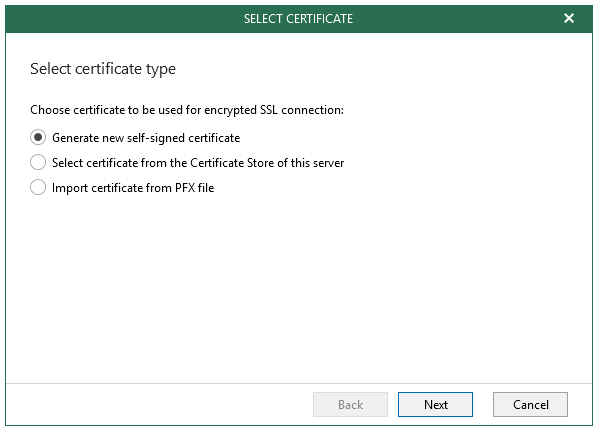
Upon import click Next.
-
Confirm the Friendly name. For this document, the default self-signed name is used.

Click Finish.
-
Confirm the Name and Certificate.
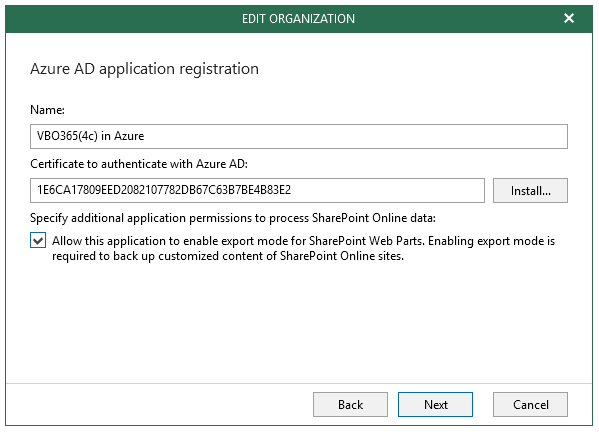
By default, web parts of Microsoft SharePoint sites that belong to Office 365 organization with enabled security defaults have the allowexport property set to false, which prevents Veeam Backup for Microsoft Office 365 from having a direct access to such web parts.
If this check box is selected, Veeam Backup for Microsoft Office 365 automatically alters the allowexport property of each web part and sets this property to true. After the allowexport property is set to true, a web part can be backed up. Refer to the folloiwng link for more info; Register Azure AD Application.
Per Release Notes, for organizations added using modern authentication with disabled legacy protocols, SharePoint Web Parts export mode can only be changed automatically if such type of a property is supported and can be modified in the source SharePoint Online site or OneDrive account.
Click Next.
-
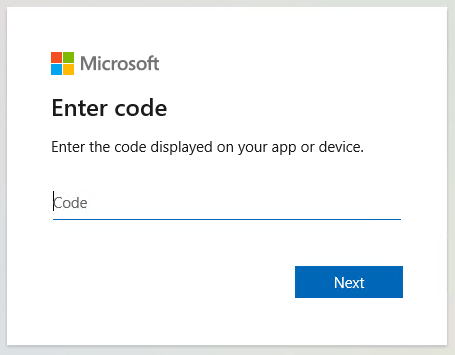
Follow the instructions to sign in. Copy code and click the link to open the sign-page or provide the code to the tenant to login on the your (the service provider’s) behalf.
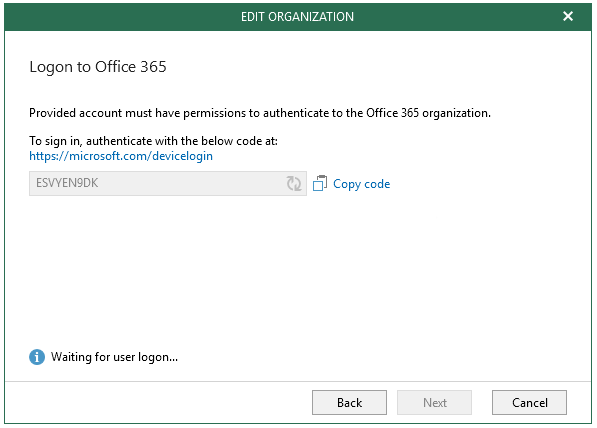
Paste the code and click Next.
-
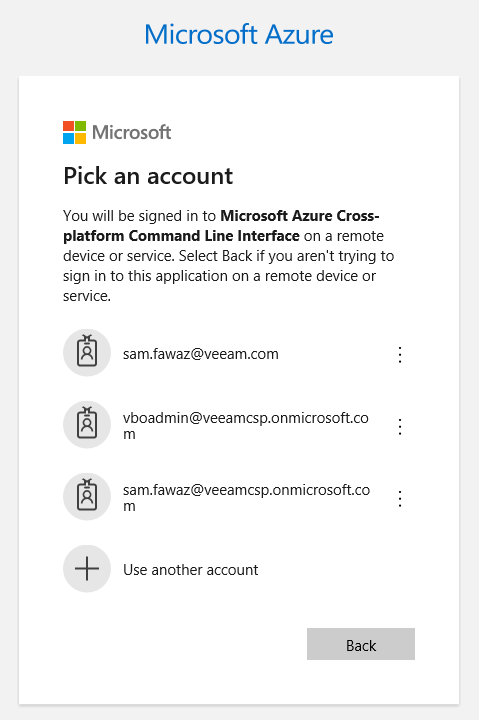
If more than 1 account is listed, choose the appropriate service account to login.
-
Enter the password.

Click Sign in.
-
You may be required to approve on an MFA device. If so, follow prompts. The result should be:

Close the window.
-
A message should indicate authentication.
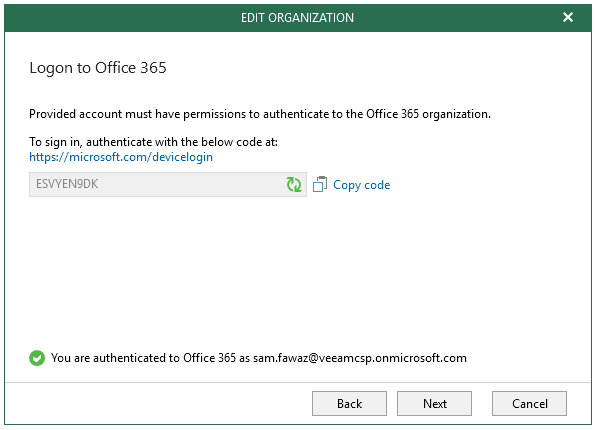
Click Next.
If these steps were completed per Section 5.9, click here to go back.
-
VBO365 will create the Azure AD application and configurations.
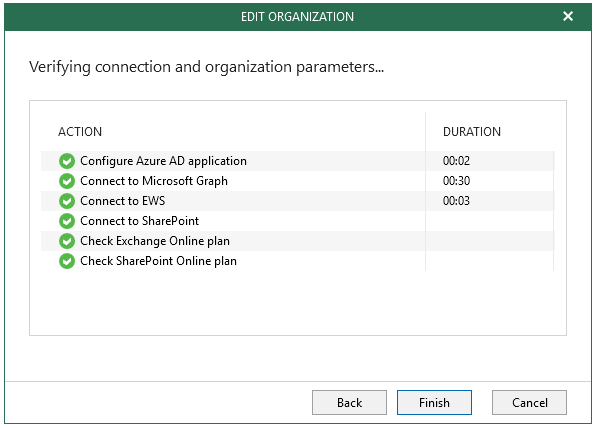
Click Finish.
5.12. Managing Backup Azure AD Applications for SharePoint/OneDrive
When using Modern Authentication, backup accounts are not needed. Rather Azure AD Applications are used to access Microsoft 365 Data.
To minimize throttling, VBO365 iterates through each added Azure AD Application to access Microsoft 365 resources and to fetch data from the organization. It is recommended to create additional AD Applications to minimize Microsoft throttling when backing up SharePoint and OneDrive and scale by 8 applications at a time. The following is a procedure on creating the Azure AD Applications via the VBO365 Console.
-
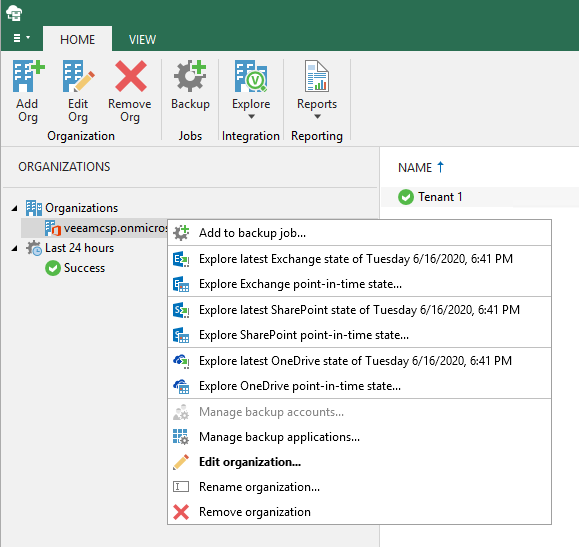
In the VBO365 Console, in Organizations right click on the tenant organization and select Manage backup applications.
-
Click on Create.
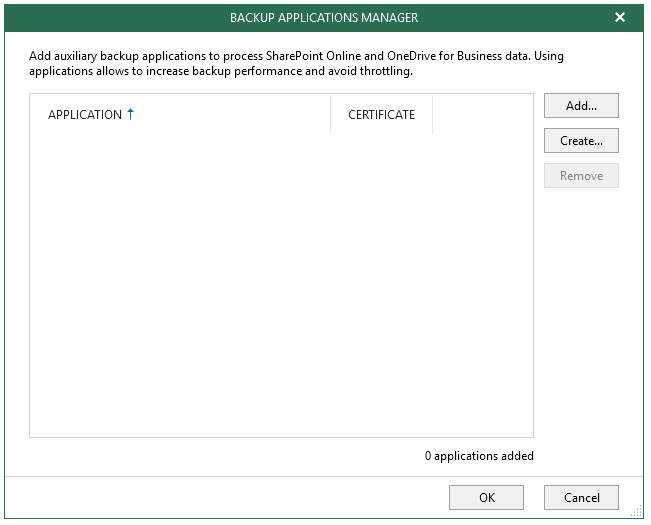
-
Input a Name, install a certificate, and set the number of applicatoins to create. In this case, 8 instances of the Azure AD Application will be created with the same name and certificate.
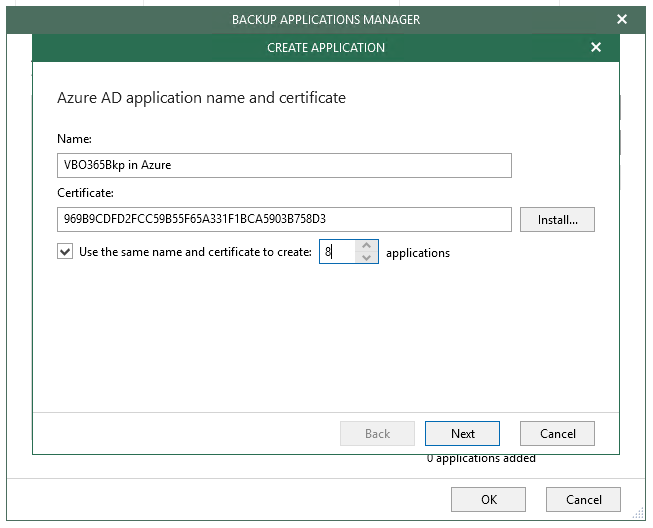
Click Next.
-
Follow Steps 8 – 12 in Section 5.5. The result should be similar to the following graphic.

Click Finish.
-
Confirm completion of the AD App creation.
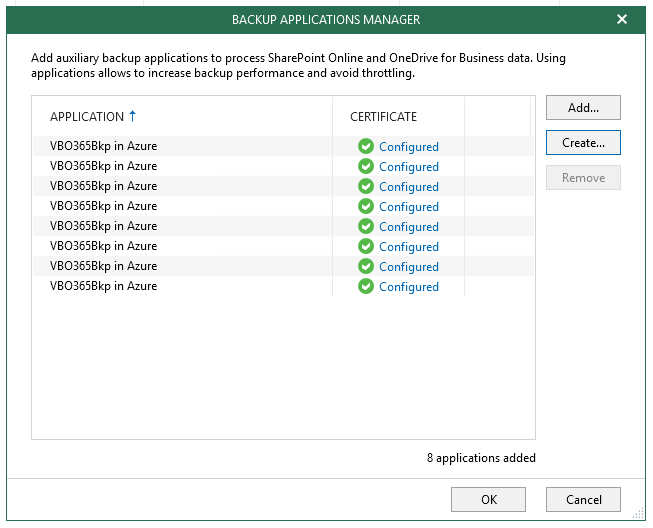
Click Ok.
-
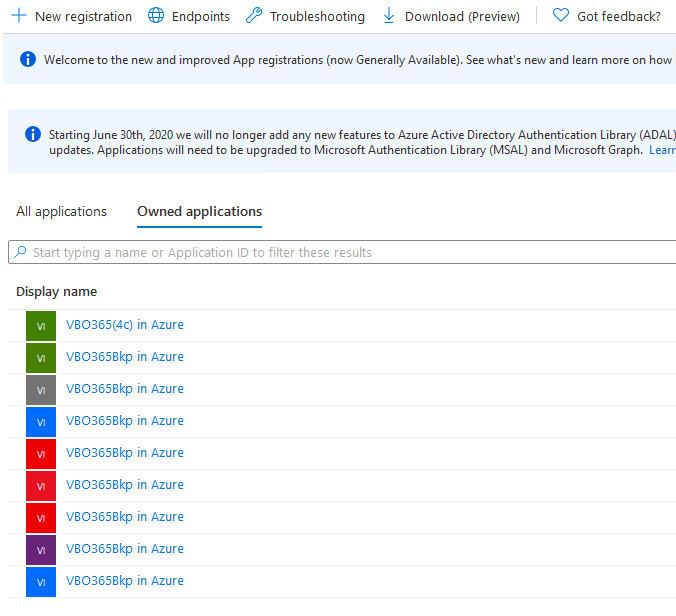
The folowing depicts the result in Azure AD.
5.13. Create a Tenant Object Storage Repository
-
Click on Backup Infrastructure in the bottom left pane and then select on Object Storage Repositories. Click on Add Object Storage in the ribbon menu. Enter a name for the object storage repo. It is suggested to include the tenant name, retention, and backup type (item or snap) in the naming scheme.
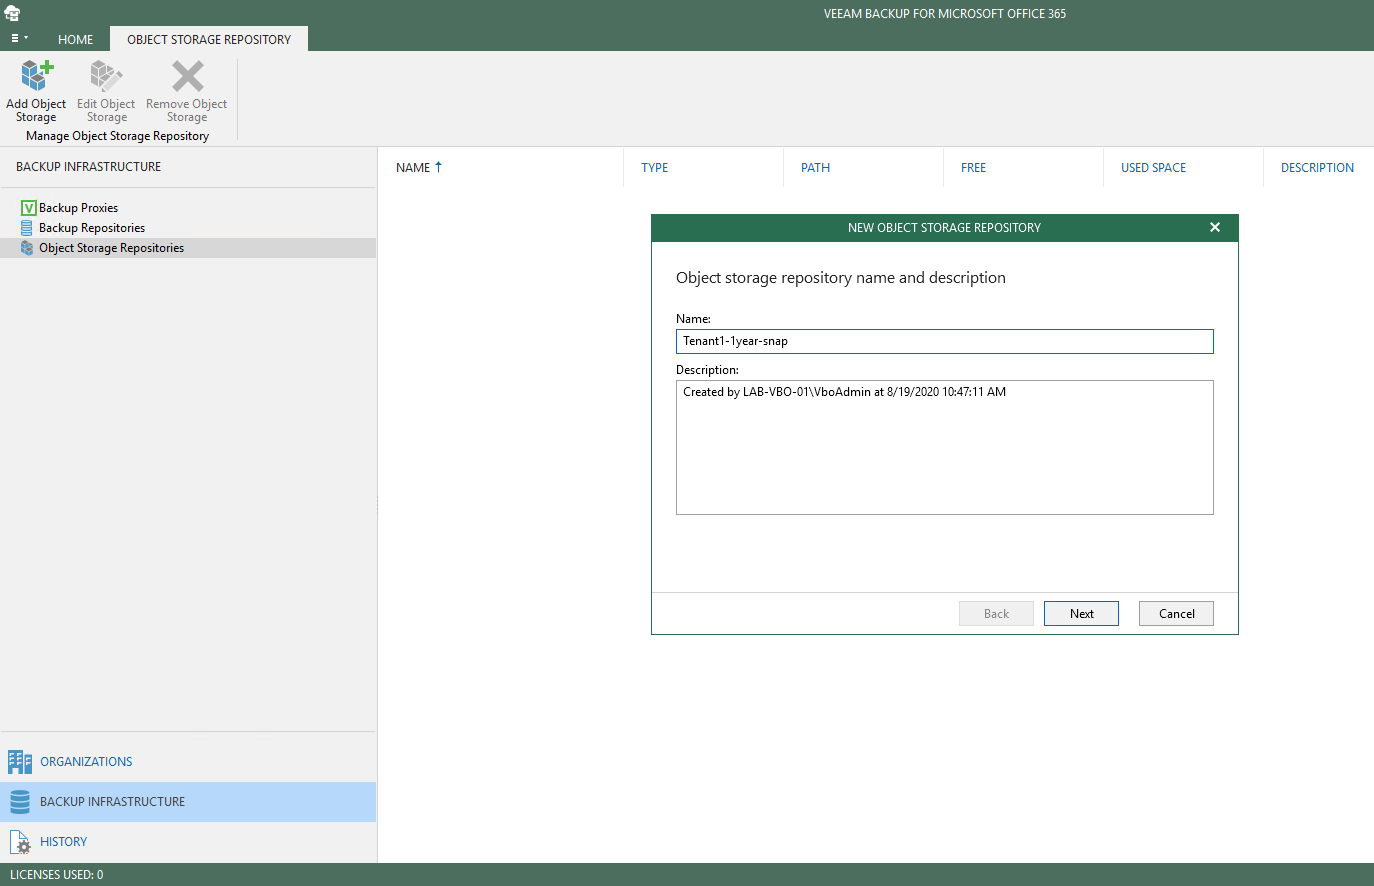
Click Next.
-
Select Microsoft Azure Blob Storage.
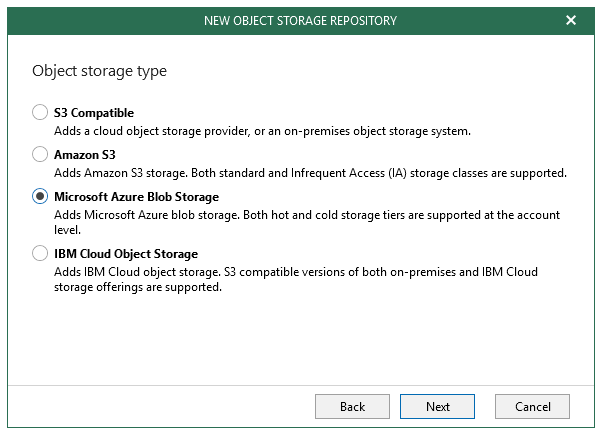
Click Next.
-
Click Add to specify account credentials. Input the Account and Shared key information. Account is the “storage account name” and Shared key is “Key1” from the Azure portal, Section 5.3 Step 12.
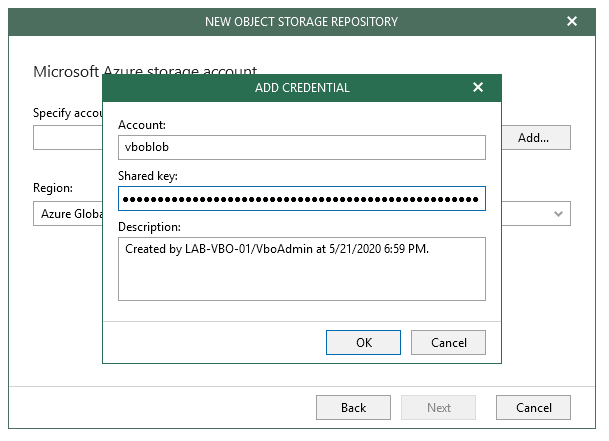
Click Ok.
-
Maintain the default selection for the Regoin
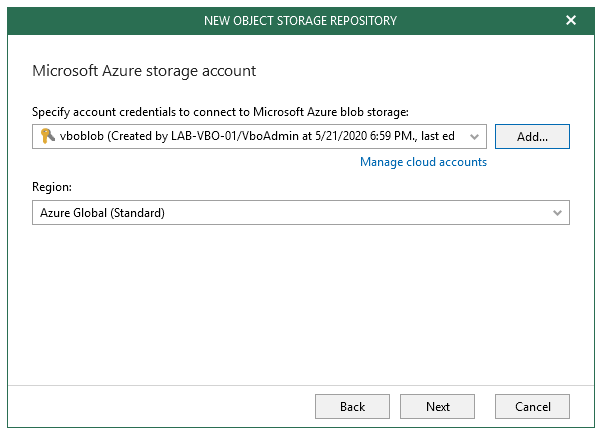
Click Next.
-
Confirm the selected Container. Click Browse and then New Folder to create a folder for the tenant. The suggested folder name should at least reflect retention and backup type (item or snap).
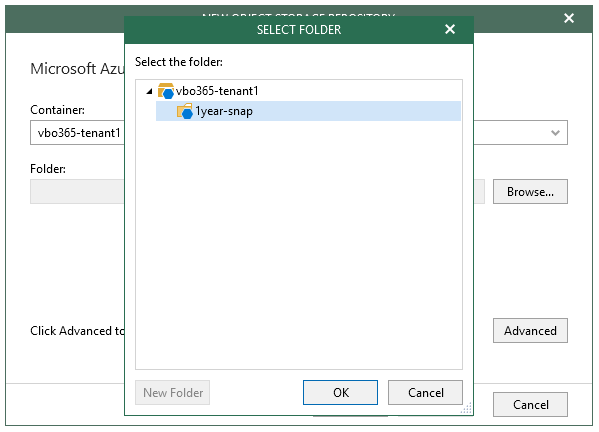
Click Ok and then Advanced.
-
Depeding on teant purchased subscription, they me be allowed unlimited storage or have a finite amount of storage for their backups. Under Advanced, the limit can be configured. Check the “Limit object storage consumption to” checkbox and specify capacity. Then click Ok.
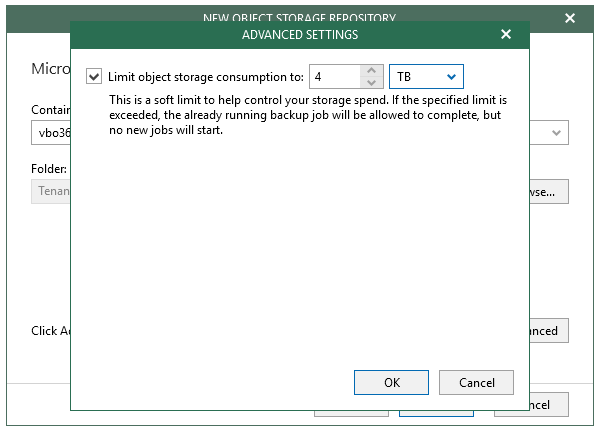
Based on assumptions in Section 2.3.1, 1000 users is expected to generate about 3.25 TB of backup data. When a change rate is known, the storage required can be predicted. For the purposes of this document, 4 TB is chosen. If the checkbox is left unchecked, the tenant will be allowed to go beyond the expected storage consumption.
Service Provider business model typically dictates the selection of this option and billing is applied accordingly per business model.
Click Ok.
-
The final step in the wizard should look like the following.
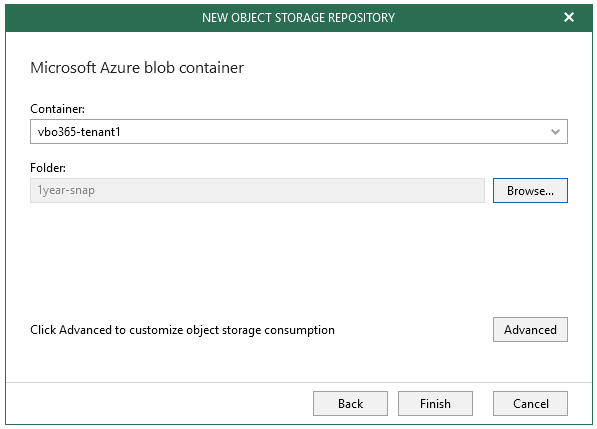
Click Finish.
5.14. Configure a Tenant Backup Repository
This is the over-arching repository layer that encompasses/maps to the tenant object storage. It will hold metadata information and will serve as the targeting point for VBO365 jobs, which will relay data to the object storage.
-
Click on Backup Repositories in the Backup Infrastructure tab. Then click “Add Repository” in the ribbon menu at the top. Input a name. The name should reflect the name of the tenant and retention policy. You may wish to also include the type of repository in the name (item or snap).
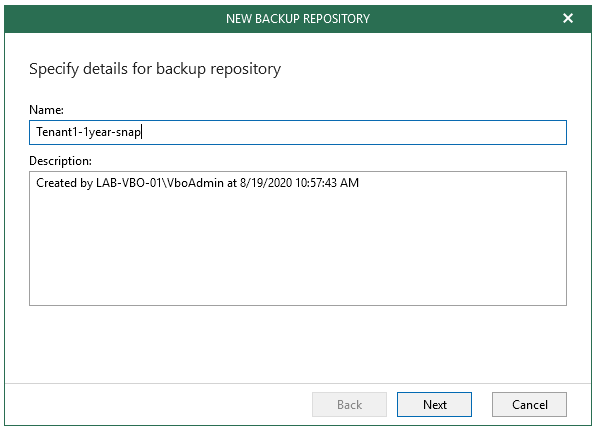
Click Next.
-
Confirm Backup Proxy and click Browse to browse a path. Click New Folder to create the tenant folder. It’s recommended the folder name include the tenant name, retention, and backup type (item or snap).
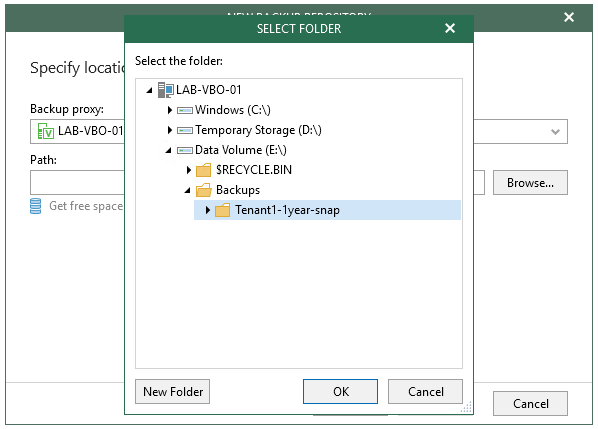
Click Ok and then Next.
-
Check the Offload backup data to object storage” checkbox and select the tenant folder. Add or select a password if enabling encryption.
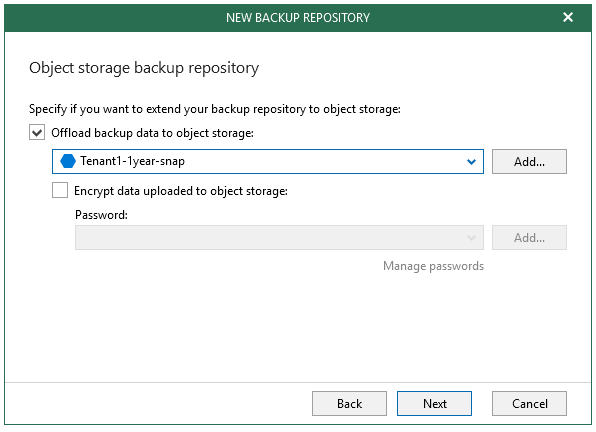
Click Next.
-
Select a retention policy. In this case we will select 1 year. By default, the retention policy is applied at 12AM daily to check for expired emails under the Advanced configuration. This document focuses on Snapshot-Based retention and so that is what is selected.
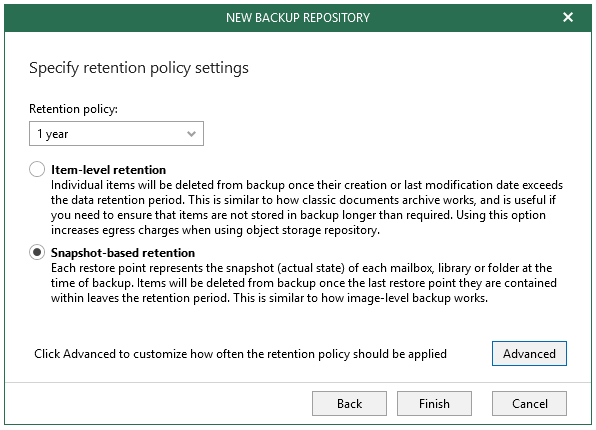
Click Finish.
Note: For cost-efficiency, snapshot-based retention is recommended for object storage to minimize API cost for both backing up data and recovering data.
5.15. Create a Backup Job
-
Right click on the organization and click Add to backup job. Specify a job name and description. The suggested name should include the tenant name, retention, backup type, and perhaps application type if jobs are being segregated by that category (Exchange, Sharepoint, Onedrive).
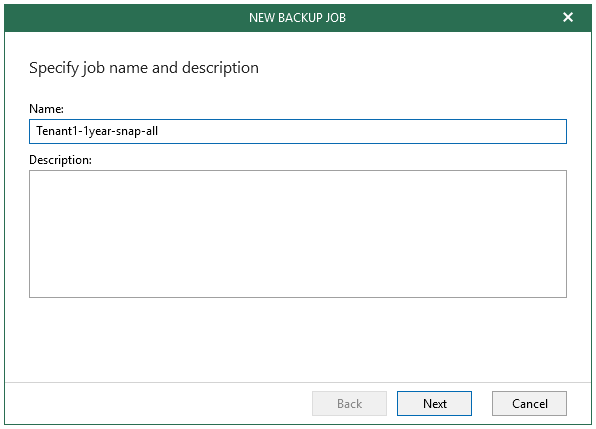
Click Next.
-
If selecting “Backup up the following objects”, click Add to select a more custom approach.
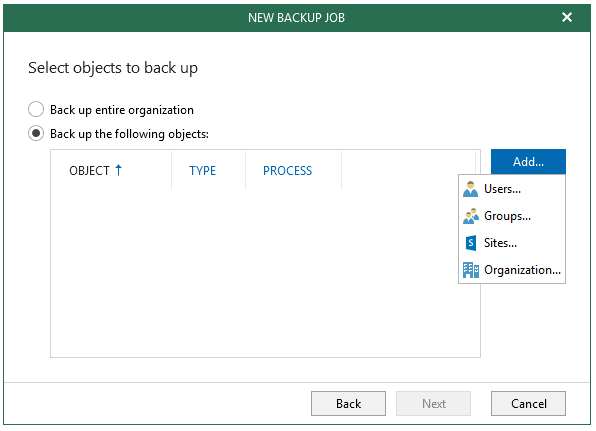
This document assumes a Backup of the entire organization is selected. Click Next.
-
Objects can be excluded.
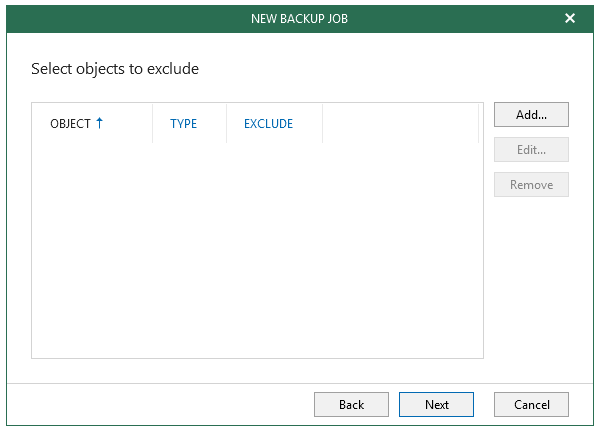
Click Next.
-
Confirm and specify the backup repository.
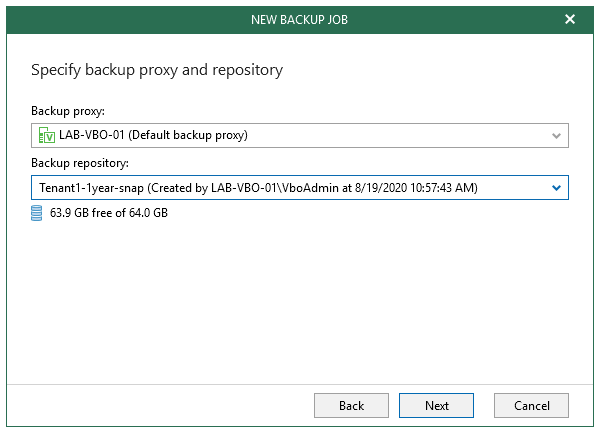
Click Next.
-
Confirm scheduling selections.
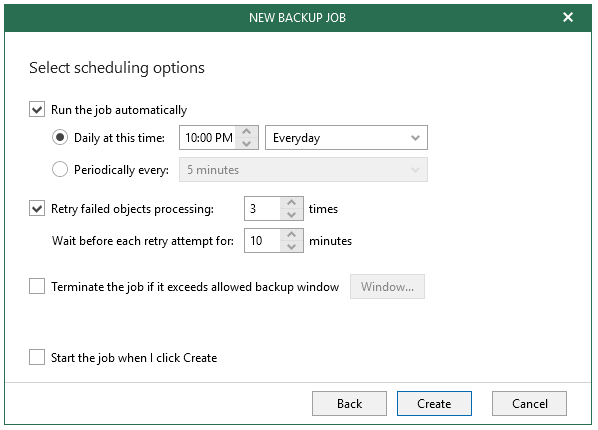
Click Create and Run the job. Congratulations! You’ve completed the deployment of VBO in Azure and have created the 1st job!
5.15.1. Recommended Job Practice Notes
- Jobs should not contain more than 2000 objects, which is equivalent to about 750 users based on previously defined assumptions. Jobs can be divided by application to meet this recommendation.
- To reduce the number of objects being backed up on a per job basis, for ease of management, and to separate how processing is done (Mailbox vs SharePoint/OneDrive), create separate jobs based on application items such as Exchange, OneDrive, and SharePoint.
- Only 1 bucket/container is technically required with tenant folders mapping to each tenant repository. However, the recommendation is to create a bucket/container per tenant and retention folders underneath.